Are you ready for Step Three?
You’ve got an idea of the Thing you want to do. You researched the Thing to get a better idea, and even to develop an understanding of how the Thing was done in period.
So now you have to Do the Thing.

But Doing the Thing is actually part of what you need to include in your documentation. The best way that I have found to handle this step is keeping a journal/diary/log of your project. Include things like supply lists (so you can write your “materials” section), notes on mock-ups and other iterations of the Thing and why they didn’t work and what you plan to improve on in the next iteration before you get to the Final Thing. Date you entries, and keep the book with your project. Little ruled notebooks (I like them slim, so they don’t take up lots of space in a tote bag) work great for this.
Another aspect of documenting execution is process photos. You can have an Amazing Final Project, but sometimes the only way for a layperson to understand how the Thing went together is to see a photo of it before it was completely done. Take photos of your sketches, you pattern pieces, the various steps in the process, etc. These will be great in your documentation, but also if you ever decide to teach a class on the Thing. Make notes in your journal/diary/log of the photos you took so you remember what to snag off of your phone/camera when it comes time to pull it all together.
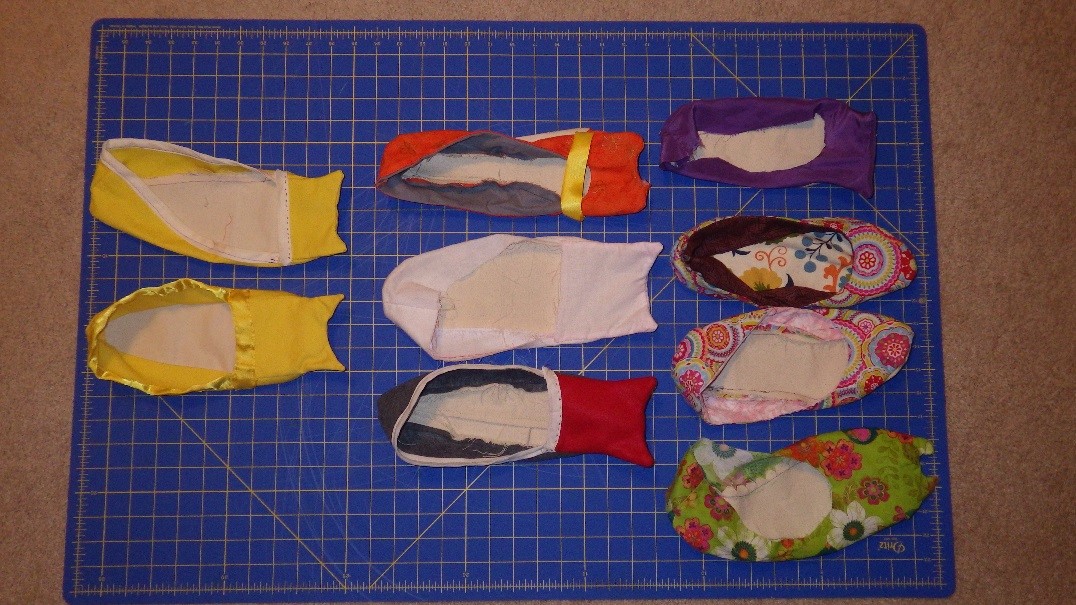 The main thing to remember when writing about Doing the Thing is that you’re walking your reader through your process. Iterations are important. I did nine mock-ups of my Han Dynasty shoes before I felt confident with my pattern. I didn’t go into detail on each one in my final documentation, but I did include a picture of them and discussed the various methods I used to create their patterns. I could have gone into greater detail, and if I had entered the shoes into a Kingdom A&S, I probably would have. But without the notes, I wouldn’t be able to make that choice.
Lastly, you will be reflecting on your executions in the final portion of your documentation. (We will talk more about outlines in Step Four.) So go ahead and make notes on that while you’re in the execution phase. What worked? What didn’t work? What do you want to try next time? What does the project inspire you to do next?
Writing Documentation – Step One, The Basics
2 thoughts on “Writing Documentation: Step Three, The Execution”