It never fails. I go to an event that has either camping or daytime field-side pavilions where folks are lounging, or both, and I start to obsess about my own kit. And by “kit” I mean the various bits, bobs, and not-worn trappings that make an SCA experience magical.
Carpets. Chairs. Cups. Canvas. Candlesticks. Chests. Banners.
(I couldn’t think of a C-word for banners.)
I’ve bitten the bullet this fall and commissioned a friend to make some silk banners for me, and I have plans to make a canvas day-shade. My husband is making me a chair. I dipped my toes into research on glass in 8th century China to figure out what kind of pitcher to buy to decant Yuan Dynasty lemon bochet into. (Psst. I totally found one and I can’t wait until it gets here.)
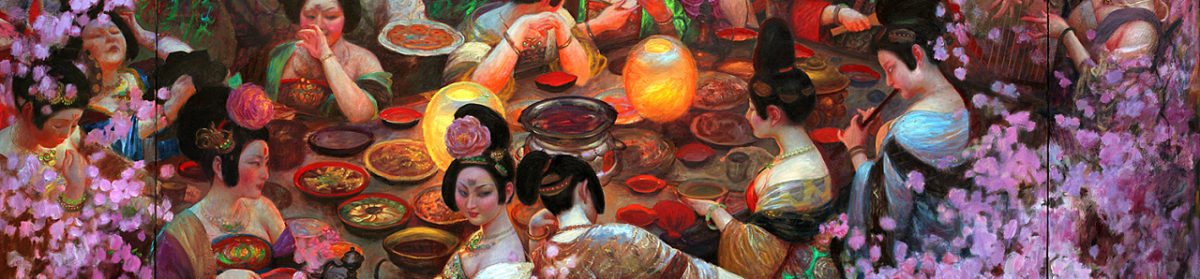
Last year at Meridian Grand Tournament, I focused on getting the furnishing inside my pop-up canopy decent. I bought an outdoor rug with a passable pattern when it went on End-Of-Season clearance at Lowes, as well as some patio furniture cushions – both red. The cushions were big enough to work as floor cushions – and while most Tang Dynasty seating was, to the best of my knowledge, stools and other low-to-the-ground platforms, cushions were a quick and cheaper way to make my space inviting for others to come and sit with me. I also cut a high density foam mattress topper down to size to fit my army cot and swathed the whole thing in red sheets so that I could have a couch – not dissimilar to the platforms we see in various paintings throughout Chinese history. My husband made me a table. All in all, it was a decent set-up – and I’m still tweaking it.
One of the simplest, easiest things to do to make your surroundings feel more period is to cover the modern elements. Small stuff is easier than big stuff, like pouring your drink into a more period appropriate cup. But making/buying tables, chairs, or even those incredibly amazing wooden chest coolers takes a level of time, skill, or money that is scarce for a lot of SCAdians. But believe me – the people who have them didn’t go and get/make them all at once. Everyone is always tweaking their camp/day shade/indoor presence to be more comfortable – both in terms of use and in terms of aesthetic.
Do small things. You will gain confidence with these accomplishments, and be able to take on bigger and bigger tasks. It’s not quite “fake it ’til you make it” but it is in that same garden – only with a better root.
So what small things can you do? More importantly, how do you do them?
Let’s assume you’ve got flooring taken care of – an indoor/outdoor rug works great and provides you with a footprint to work from – and that we aren’t futzing with any sort of poles/walls/ceiling just yet, since that’s a whole separate ball of wax. I’m also not going to touch on cups and other tableware, since those are pretty easily taken care of either with modern look-alikes, pottery, etc. from various merchants or craftsfolk.
So let’s look at the types of things you’re likely to have. Then we’ll look at some ways to do the things that are fun to have, but aren’t essential.
- Chairs
- Table
- Cooler
- Storage
[This was initially going to be one big post but… it’s big. So you’ll get 7 posts! One for each of these “essential” things, then three more on banners, lighting, and decor.]
What you chose to do in any of these areas is going to depend on the balance 1) how much time you have, 2) how much effort you want to put into making something, 3) how much money you have budgeted to enhance this aspect of your kit, and 4) how accurate you want to be.
Remember that your “camp kit” for lack of a better term is an investment, just like your clothing, your accessories, and your feast gear. Making a less than ideal choice is okay, provided that the balance makes sense for you at the time.
Chairs – A Place to Sit
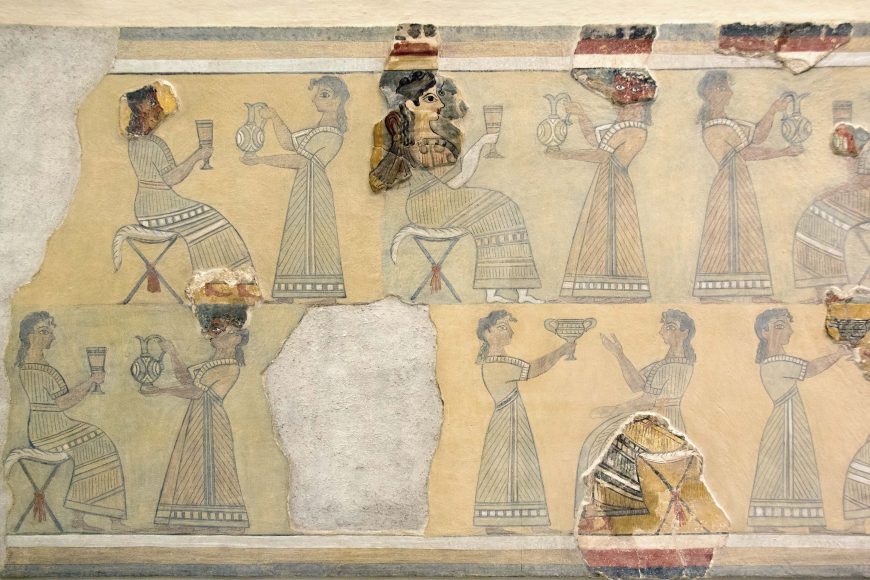
For me, seating was weird. Chairs the way we think of them existed in China’s Tang Dynasty, but they weren’t very common. And at the same time people were starting to sit in fix-framed chairs, they were also sitting on low, raised platforms, a variety of stools, cushions, and mats. Look at paintings and literature from the time period and region you’re focusing on to see what would be appropriate for you. Some things to consider are:
- Folding stools
- Fixed stools
- Covering a collapsible camp chair
Folding camp stools are found throughout the ancient and medieval period, are widely available to purchase (look at places that sell canvas tents), and look relatively easy to make (Note: the link goes to kid-sized stools, but scaling that up shouldn’t be an issue. If you’re not comfortable with that math, here’s an adult-sized tutorial).
Making one of these might be more economical than buying one, since wooden stools are much more expensive than metal or plastic ones. A non-wooden stool can easily be covered using the same method I’ll talk about for covering tables (Psst. It’s like a box cushion and a tablecloth had a baby). Heck, you could get crazy on a local-group A&S/Project night and churn out a bunch of these. Maybe even stencil heraldry on the seats…
Fixed stools lack the same packability as folding stools, but if they’re hollow, you can use the inside to transport smaller items – especially if you make a bucket stool. Drum-type and woven stools are period for Tang Dynasty (we see them in sculpture as well as in paintings).

There are a ton of tutorials online for how to a turn a 5-gallon bucket (usually less than $5) into a stool. In the end, you get a stool that is both a storage container and a seat. Stools can be covered with sisal rope, fabric, or even a roll of Duct Tape (wood grain?). I’m not a big fan of the idea of putting the cushion on the bottom of the bucket, since it means you can’t use it for storage while also using it as a seat.
The tutorials I like best use a piece of wood or several pieces of heavy cardboard and batting/foam to make the cushion on the lid.
A collapsible camp chair is likely something you already have in your garage, but because it is so modern in aesthetic, creating a cover for it can easily enhance your space and improve the overall aesthetic of not only your immediate surroundings but the event overall.

There are a few tutorials out there on the internet (though some are on now defunct sites), but my favorite is from Sequins and Sawdust. She uses a draping method that is applicable to any chair like this – I used it for my collapsible rocking chair, and it worked like a charm.
What fun/easy/inexpensive chairs/chair coverings have you come up with for your Camp Kit? I’d love to see them!
Okay. I finished reading your #1–Chairs. Very nice. Where’s the next one?