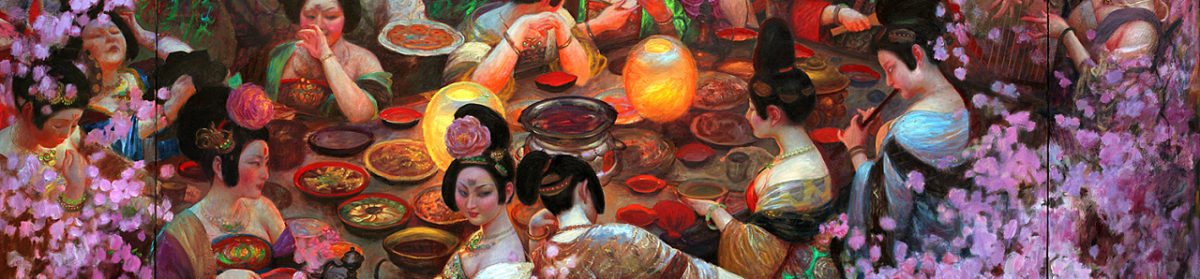
This post is a result of my cursory research of Lady Mi’s rock crystal necklace, exhibited by the National Museum of China in 2019, and my attempts to recreate it. I don’t plan on ever entering this necklace in competition, but I wanted to share this process as it shines light on how one can recreate something that looks period without using 100% period techniques or materials – and, mainly, on a budget. I’ll link to all the items I purchased for this project, as well as the sources used. Special thanks to Minamoto no Hideaki for helping translate.
Lady Mi, consort of the Fujun official (辅君夫人米氏, 685 AD-755 AD) was buried in what would become the suburbs of X’ian, Shaanix Province. Her tomb was discovered in 2002. She was buried wearing a rock crystal necklace with amethyst and turquoise drops and three blue beads, all strung on silk. The silk had degraded, and archeologists had to search for the beads that had scattered around her neck.
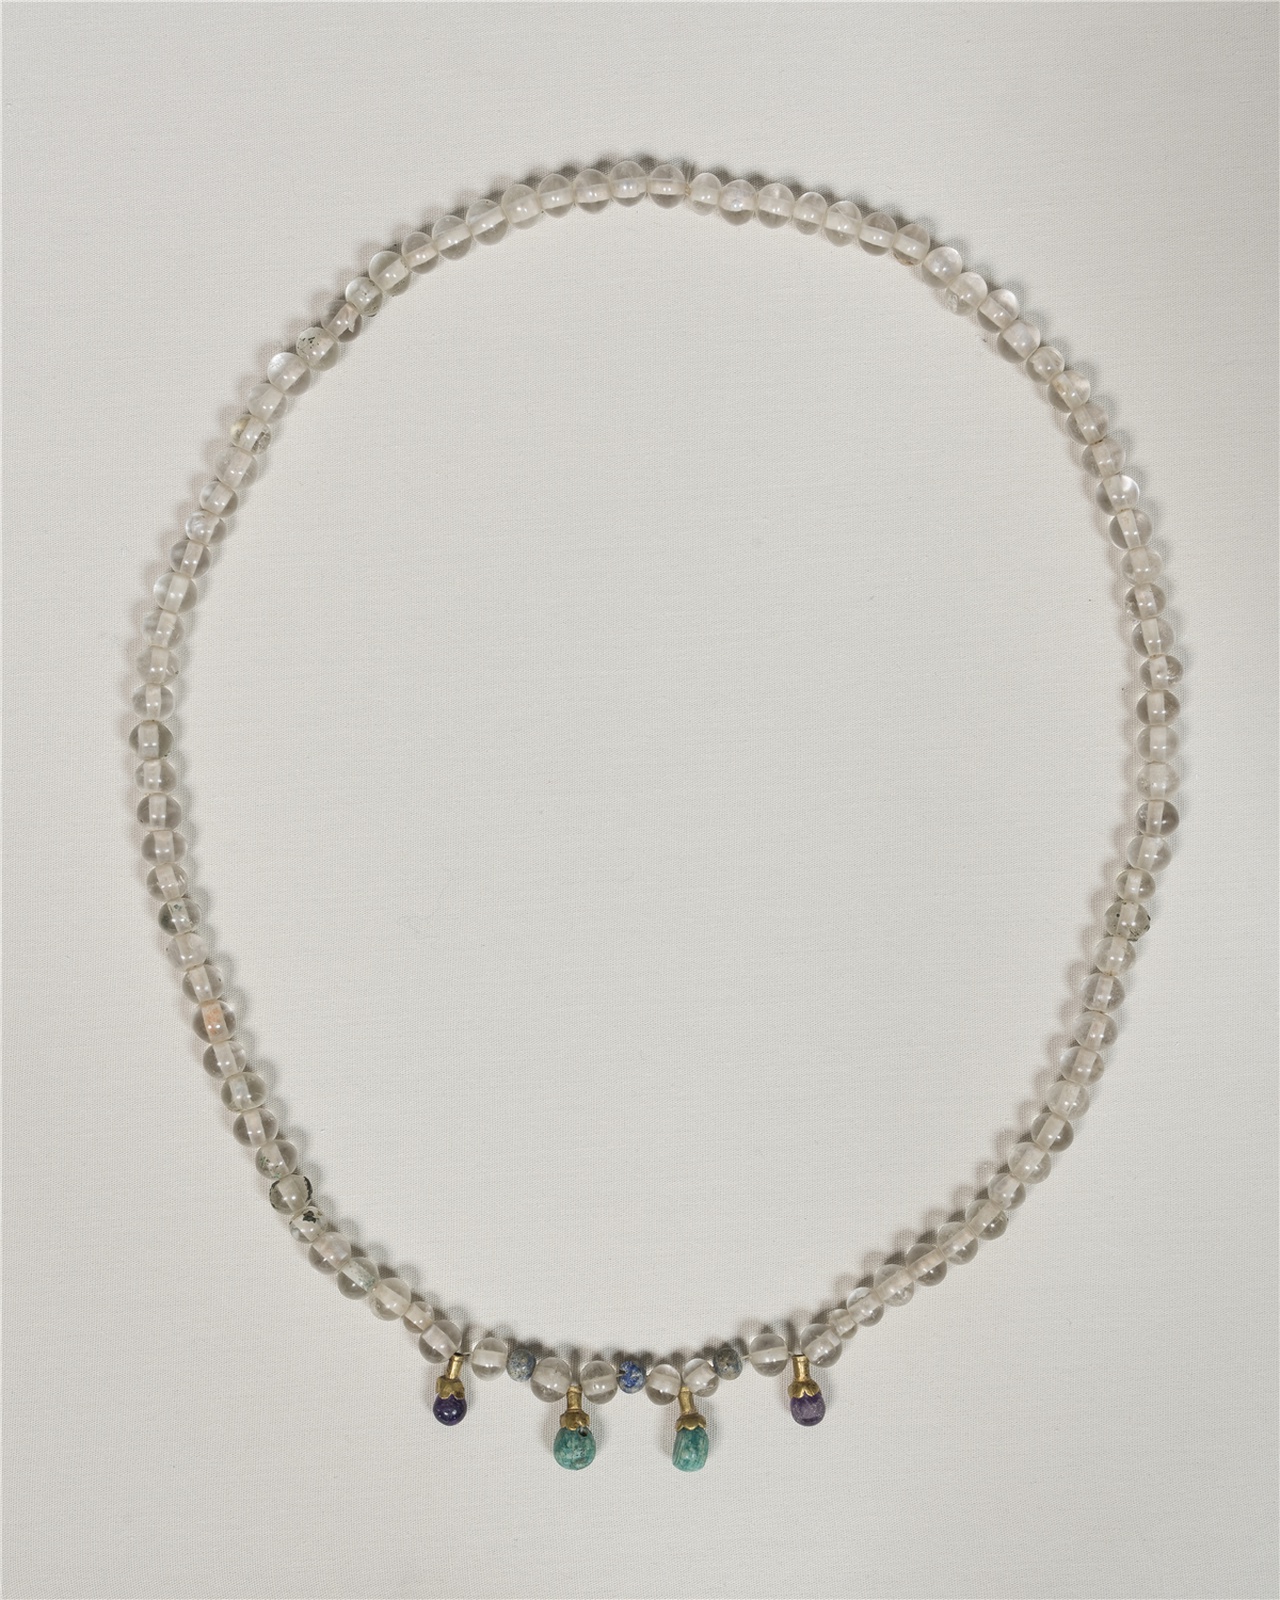
They found 92 crystal beads, 2 amethysts, 2 turquoise, and 3 blue beads. The amethyst and turquoise were set with gold bails.
I don’t have a good citation for how long the necklace is. But given an estimate of 55-58 cm, since it has no visible clasp and would need to be put on over the head, and the known number of beads, I estimated that each bead is roughly 6mm in diameter.
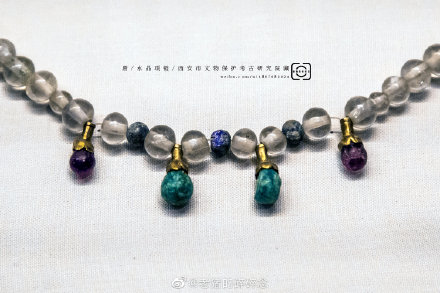
Rock crystal is transparent quartz, which is an easy material to find in terms of beads. For the amethyst and turquoise, I looked at half-drilled teardrops to use, also using a 6mm size as my guideline, since they look roughly the same size as the accompanying crystals. I’m not a jeweler or lapadrist, so this took some digging around, but I found that looking for half-drilled, teardrop shaped stones gave me the best results. Amethyst was relatively easy to find, but I opted for some raw polished stones so I could get them faster. I couldn’t find real turquoise for a reasonable price, so I substituted Czech Glass. I didn’t feel too terrible about this, since we have evidence of glass beads in China from before and during the Tang Dynasty. For the blue beads, I went for a 4mm, since they look a bit smaller, and initially looked at blue agates. I couldn’t find anything I really liked, and stumbled on some beads claiming to be lapis, but they were reasonably priced and the slightly mottled surface looked right when compared to detail images of the extant necklace.
For the bails, I couldn’t find a finding that fit the bill exactly, so I resolved to use a combination of a cord end and a petal shaped bead cap. The holes in all the beads I sourced at this point were 0.8-1.2 mm, and with taxes and shipping would cost me just over $53.
For funsies, I also priced out what it would cost to make this same necklace using acrylic, glass, or otherwise not natural stones. I kept the same cord ends and bead caps, since those are already just gold colored brass. Because we’re dealing with relatively low quantities – 10-20 stones or 1-2, 15″ strands – ordering via a place like Etsy means lots of little shipping costs. Before taxes, my estimated pricing for the “cheaper” necklace was just over $36. If you’re lucky to have a local bead store (or a craft store with a good bead section), you could probably bring this price down a bit with some good hunting.
In either case, you’re going to have some leftover beads. My plan is to use them to make modern jewelry to give as gifts, with the hope that I won’t need to go buy a bunch of additional findings in order to do so. Good thing I know people who like purple.
Lady Mi’s necklace was strung on silk, so I used Beadalon 100% Silk beading cord, since it was readily available at my local craft store and came with a beading needle. I chose the white color, to approximate undyed silk.
Before my beads even arrived, I mapped out how many beads I would need and in what configuration, using the image from the National Museum of China’s exhibit. I simply used my computer’s image editor to number the rock crystal beads and do some simple math.

There are 86 rock crystal beads in the main body of the necklace (43 to a “side”) and 6 between the two amethysts. The pattern for the focal element is: amethyst, rock crystal, blue bead, rock crystal, turquoise, rock crystal, blue bead, turquoise, rock crystal, blue bead, amethyst.
To make the drops, I bent the petals of the bead caps with some pliers while holding them in the middle with an awl so that they would fit around the narrower end of the teardrop shaped stones. My experiments with threading the turquoise drops with wire and then pulling both ends of the cord up through the bead cap didn’t work – the wire would break the glass bead. With cording, I couldn’t get the string tight enough to hold everything snug. I tried to glue them, but it took too long to set and the shapes kept slipping. Finally, I used UV resin to quickly adhere the pieces together, then added the cord end the same way. I made use of my third hand to do this.
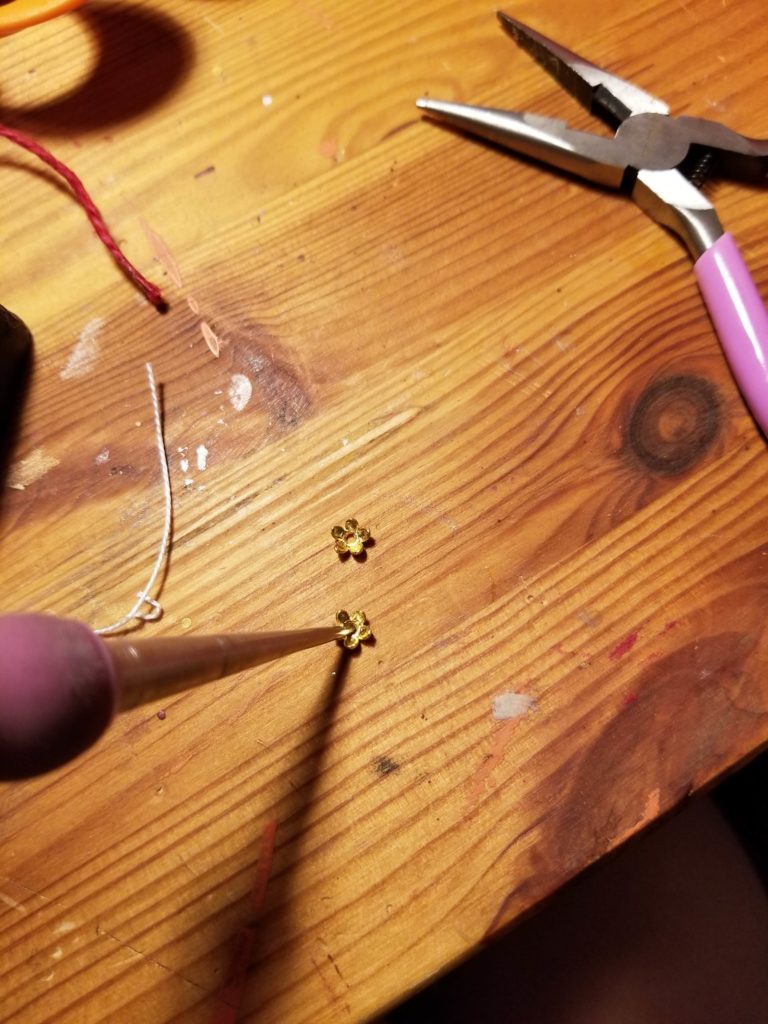
Shaping the bead caps. 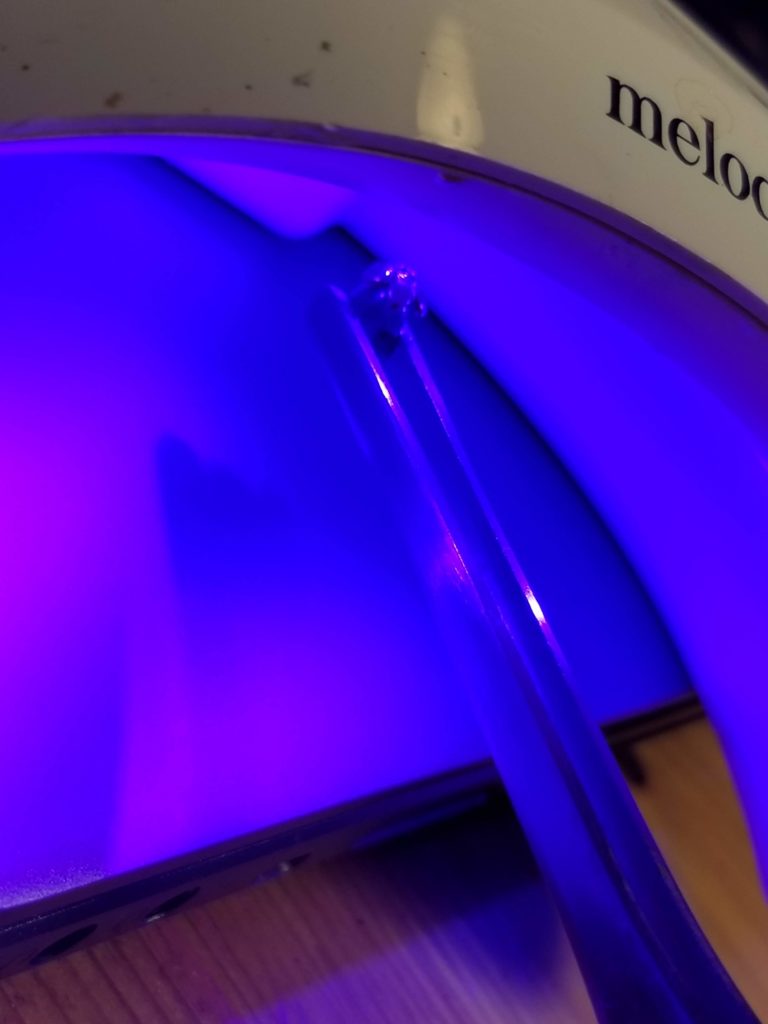
Curing the UV resin to adhere the bead cap to the amethyst. 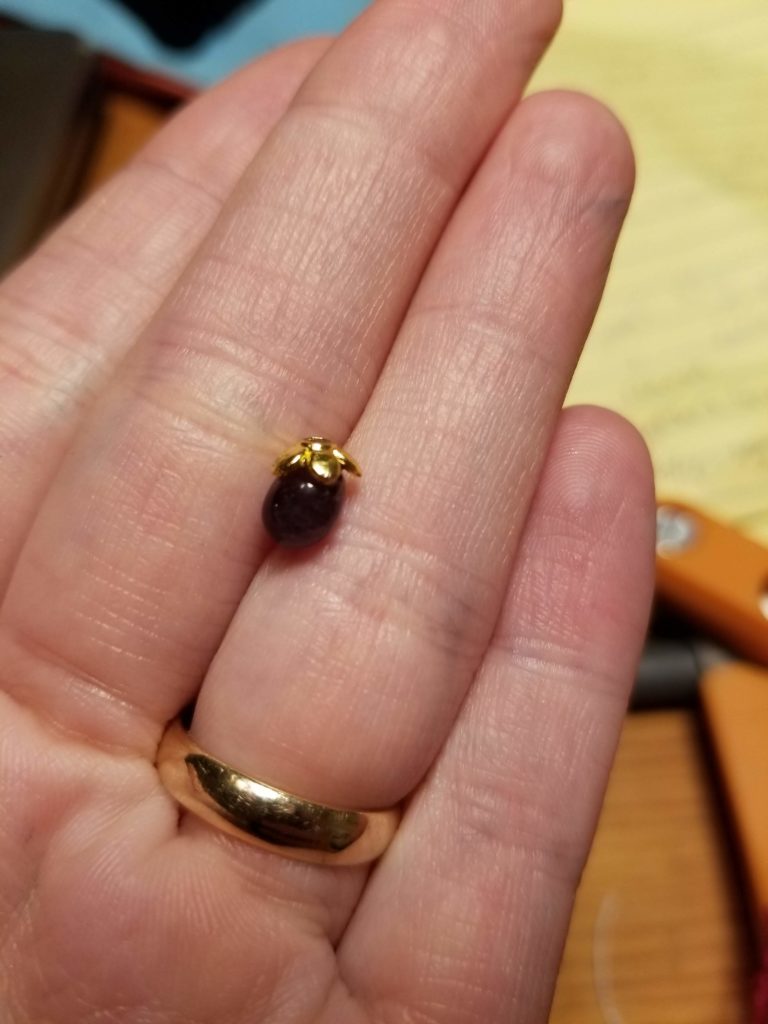
The amethyst with the cap – it looks like a tiny eggplant! 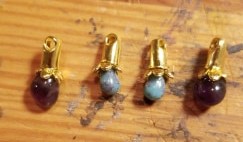
The finished amethyst and turquoise (glass) drops.
Once I had all the drops made, I started stringing all the beads, following the same pattern I’d mapped out from the extant.
To finish the necklace without a clasp, I followed the instructions in the video below to pass my silk cord through the last bead on the opposite side and then tie a knot to secure it. I also fed the cord back through more beads before I cut it so that the ends would stay hidden. I wasn’t super successful with getting the ends hidden or the string tight, but it’s serviceable.
Once it was all finished, I tried it on – and it works! I can put it on over my head (have to take my glasses off), and it sits nicely about 3 inches below my suprasternal notch (the gap between clavicles at the base of the throat).


I am really happy with how this project turned out. I could have gone with a slightly larger blue bead (these are 4mm compared to the 6mm quartz), as well as a slightly larger turquoise. I have plenty of amethyst and glass turquoise that I can play with, so I might just have to make something that features tiny eggplants. I also could easily buy more quartz and make another necklace.
The whole idea of this project was to make something that passes as period without breaking the bank or investing in a new skill set. So don’t be afraid to try your hand at recreating period accessories!
2 thoughts on “The Rock Crystal Necklace of Lady Mi – A Maker’s Diary”