Heads up – this is going to be a picture-heavy post, hence the use of the “read more” cut.
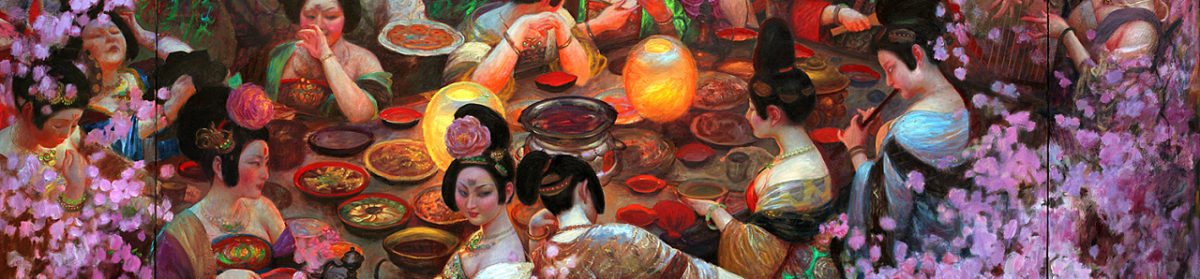
I’ve had my eyes on some Tang Dynasty styled shoes on Taobao for awhile. The distinct rise of the up-turned or raised toe (高头履, gāotou lǚ), literally “tall head shoe”) seen on the shoes worn by Tang Dynasty women in artwork has eluded me and my amateur cobbling attempts. The much more subtle Han Dynasty shoes, exemplified by Emperor Qin’s Terra Cotta Army and Lady Dai’s shoes, were much easier to figure out replicate. I have a box of in-process attempts at the raised toe shoes, using a variety of “how to make it stick up” methods.
With my impending vigil and elevation, though, I didn’t feel that I had time to do justice to the shoe. I’d already put in an order in early March for a pair of canvas boots similar to what we see Tang Dynasty men in round-collared robes (圓領袍, yuánlǐng páo) wearing, but they didn’t arrive until late May, due to the pandemic. Because international and domestic shipping are so significantly delayed, I was afraid if I ordered a pair from China, they may not arrived in time.
Someday, shoes – someday you will be mine.

So instead, I decided to try and make a pair with the goal to simply get them down in a passable manner. I wasn’t going for accuracy in terms of constriction – I just needed them to look right when worn and seen from 5 feet away. Since my elevation will be online, the close-up details didn’t matter. Hopefully by the time we’re able to plan a celebratory revel, I’ll be able to get a better pair ordered and shipped in.
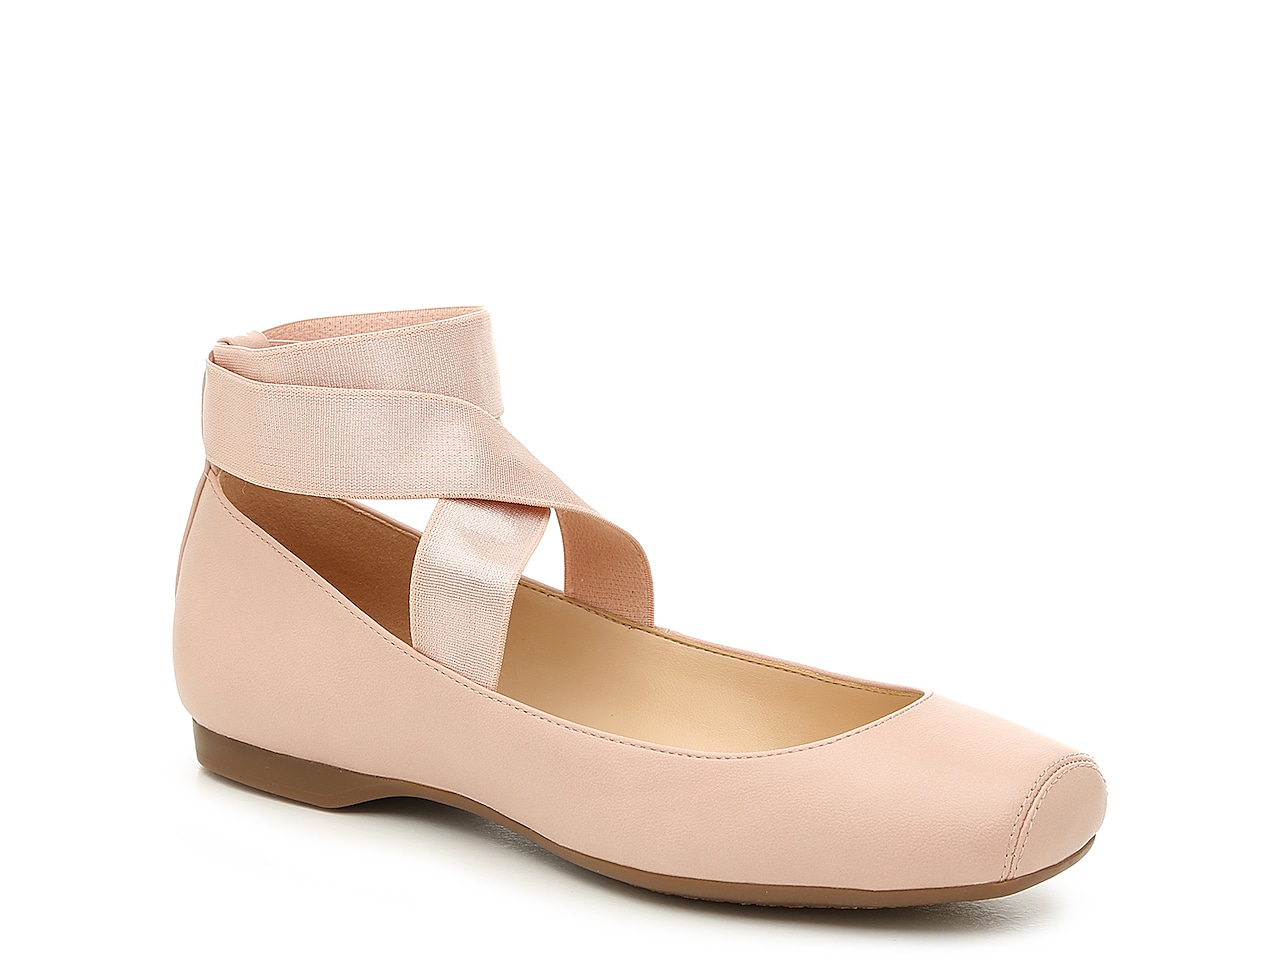
To start, I looked for a base shoe that would have the appropriate shape and be able to support the raised toe. I settled on a pair of Jessica Simpson ballet flats, which had a squared off toe similar to a pointe shoe, which allow ample surface for the raised toecap to be applied. They’re also very comfortable, and I’m tempted to get another pair in black.
I got the flats in the pale pink color because I knew I’d have to dye them. I used Tarrago synthetic leather dye in Bordeaux to “paint” the shoes and get them to a rich red color. They’re a slightly cooler red than my skirt fabric, but they’ll serve.

The next step was to pattern and construct the toe panel. I knew that in order to provide stability, I would need the toe piece to wrap around the sides of the shoes. This was in part why I chose the flat-toed ballet flats as my base shoe – the shape would support this kind of structure.
I measured the flat toe section of the shoe and how far around the side I wanted the toe panel to wrap. I sketched out my design on heavy sketchpad paper, then drew where I wanted the decorative white panel to be. I used my paper template, folded in half, and my handy dandy seam allowance guide to trace the pattern onto the various fabrics I used to construct the toe. Later, I’d cut my paper pattern apart so I could use it to cut the white silk.

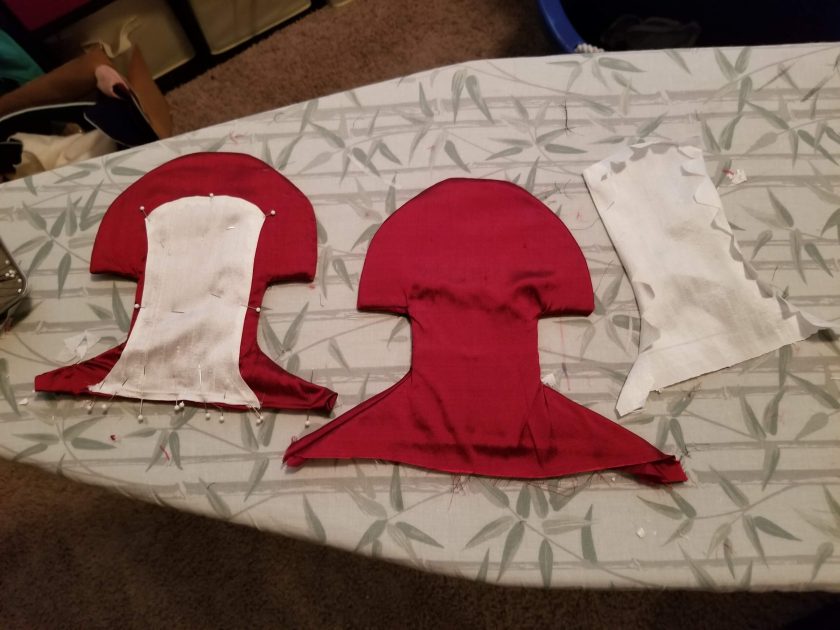
The inner layers of the toe are made up of two layers of cotton canvas, each with iron-on interfacing, and a layer of cotton batting. Lacquer was used as a stiffening agent for other textile products, so I substituted interfacing as a stiffener, since I had it on hand and it fit the scope of the project.

I stitched the inner toe structures all the way around the outside edge. Because I wanted to wrap the toe around the front of the shoe, I sewed two lines that corresponded to the edges of the square toe in order to facilitating bending.

I used the canvas sandwich as a template to mark and cut out the silk. I also marked a seam line that would ensure that the outer silk fabric would be a snug casing for the inner structure. I used a red silk taffeta (outside) and two layers of red silk habotai (inside) that I had in my scrap bin. After stitching these, I turned them right sides out and inserted the inner structure.

I used my paper template to mark and cut out the white silk applique piece that would go on the front of the toe. I clipped and ironed the edges before pinning this to the toe piece, then stitched it on by hand. I then turned in the bottom edges of the red silk to hide the canvas and hand-sewed it shut.
I thought I’d be able to stitch it on along the seam lines of the shoe with sharp enough needle and possible pliers, but that ended up being a non-starter. A little bit of research and a quick consult with my resident chemical engineer lead me to chose Shoe Goo as my adhesive. I applied the adhesive to the shoe in the places where it would touch the toe piece, then I used small clamps to hold the toe piece to the shoe while the goo dried.

I let the glue dry for 36 hours to make sure it had a good hold. I tried them on, and voila! Shoes! That fit my big feet and looked good! They aren’t period in terms of construction, but they will serve as things to cover my feed and help finish out my look.
One thought on “OMG Shoes”