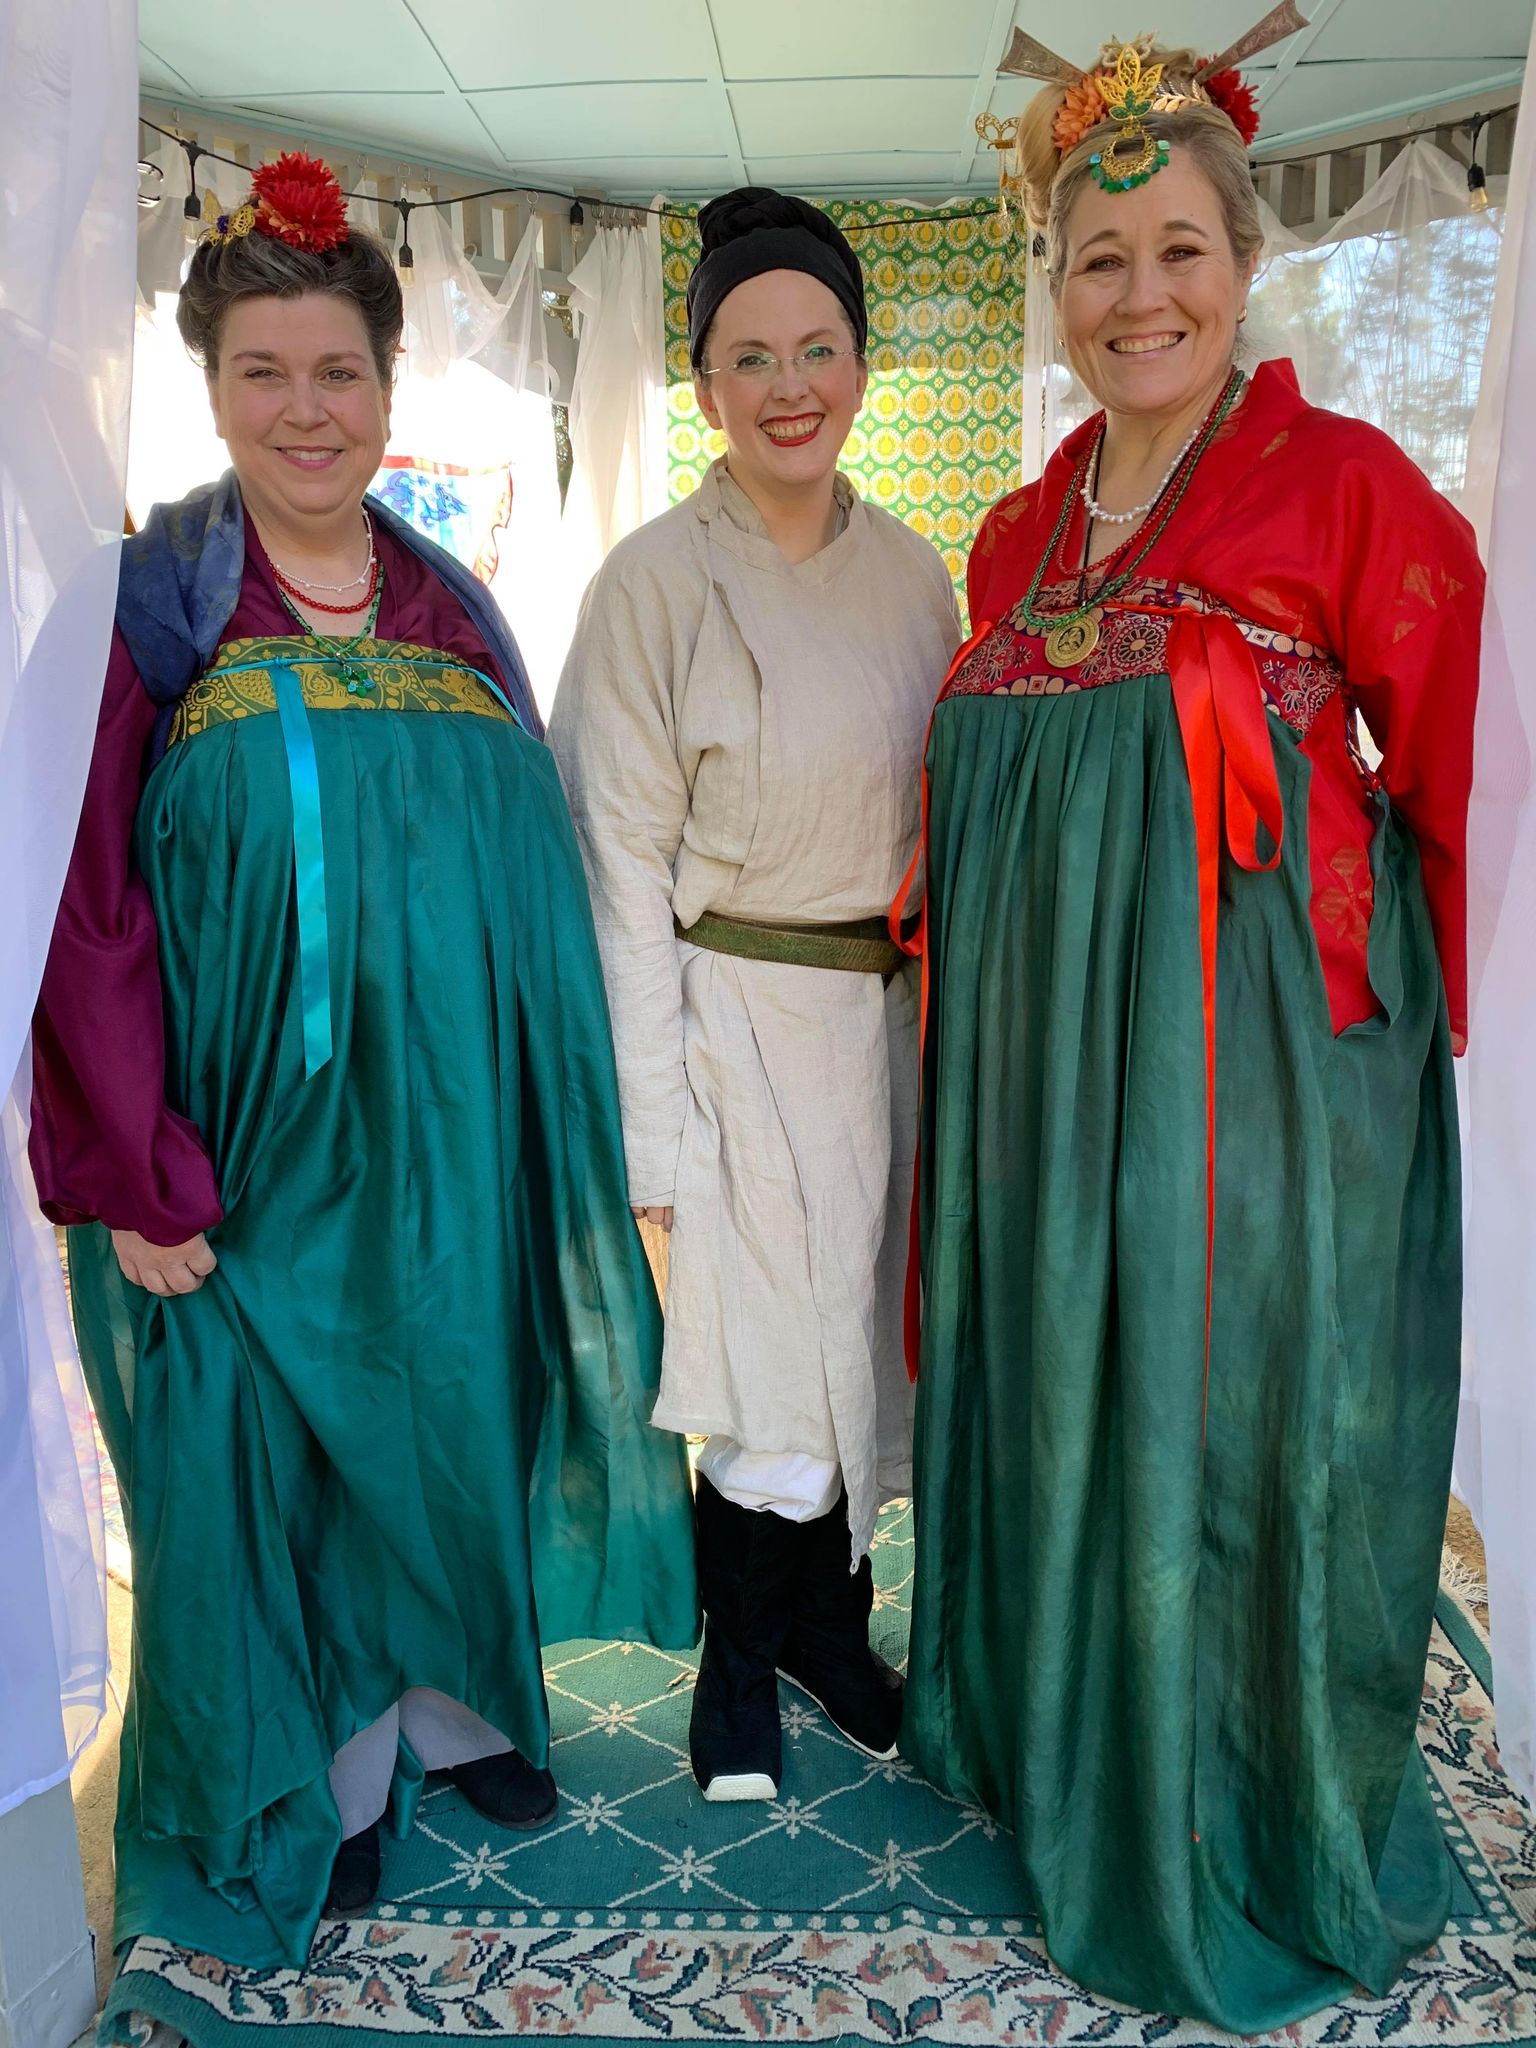
My entire vigil and elevation was planned around the concept of someone passing their civil exams in order to take a position as an official within the imperial bureaucracy. For me, my elevation to the order was as much if not more so about the new role that I was taking on, in addition to the honor of the accolade itself. I found the scholar to official journey to be a good analog for this transition.
It’s not uncommon for someone’s vigil robes to signify contemplation or cleansing before their vigil. White is commonly seen in vigil garb and, across cultures, is associated with solemnity (it is the color of mourning in many eastern cultures) religious sanctity, and purity.
Scholars who would travel to Chang’an (the capital city of the Tang Dynasty) to for the annual conferrals of jinshi degrees, the final and highest degree in the civil exam framework (sound familiar?). This group was recognizable by the plain hempen robes they wore – and were called mayi (hemp-clad), buyi (cloth-clad), or baipao (white-robed).1 The word jiehe (“doffing of the coarse clothes”) described the occasion when scholar was assigned to an official post. High-ranking officials were called “vermillion-robed” (fifth rank or above) or “purple-robed” (third rank or above).
I wanted to follow this same narrative of transformation and accepting of a post, along with the colorless, un-dyed hemp robes as a symbol of anticipation of a new identity, especially since the metaphor of transformation was prevalent in literature of the time when discussing this event in someone’s life2.
Detail from Two Horses and a Groom 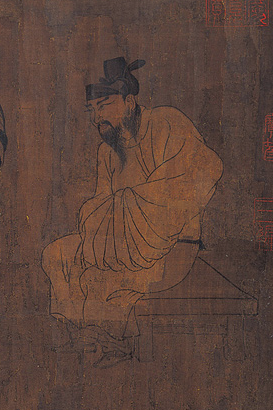
Detail from Xiao Yi’s Acquiring the Orchid Pavilion Preface by Deception 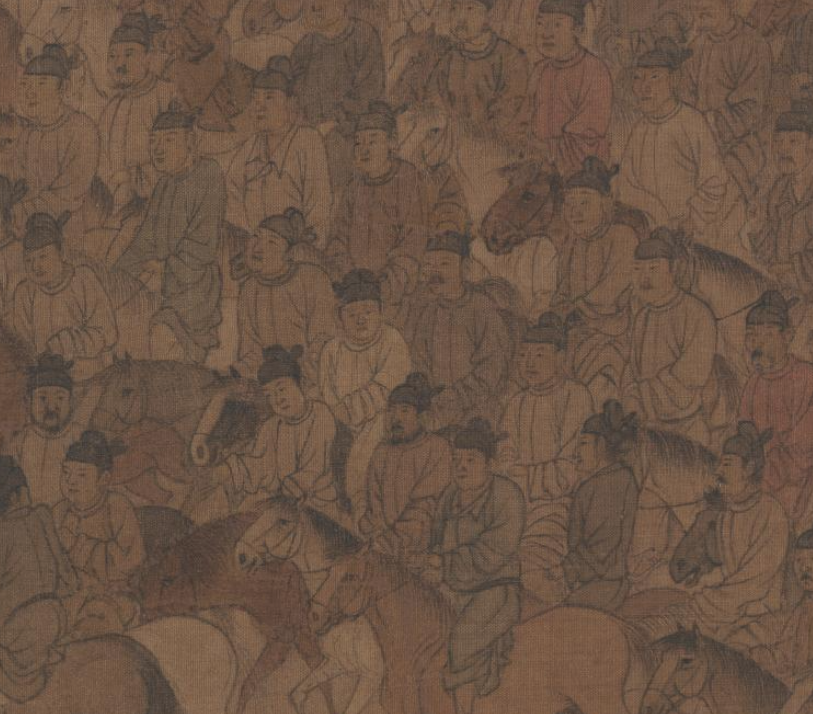
Detail from Imperial Horses at Pasture 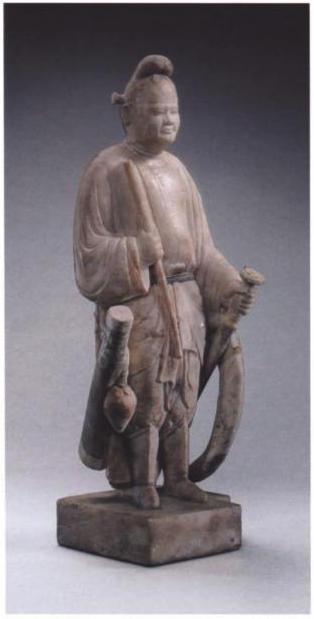
Marble figure from Yang Sixu’s tomb 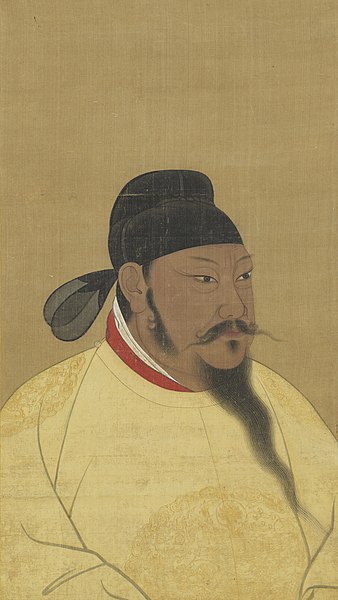
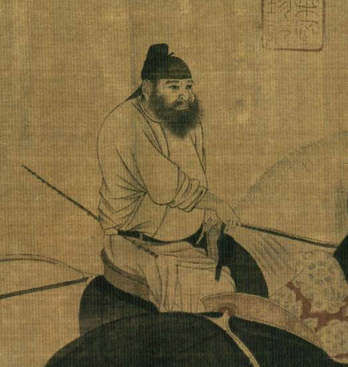
Detail from portrait of Emperor Taizong 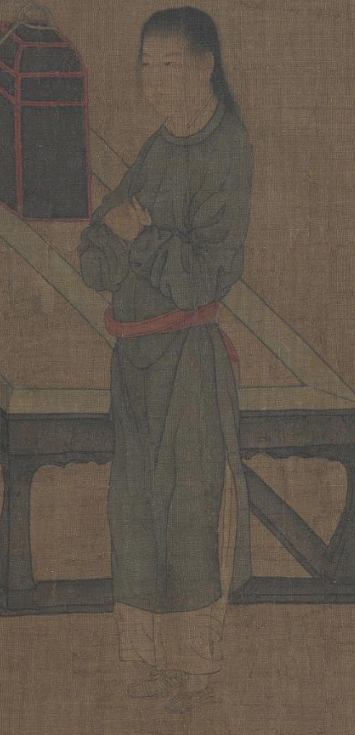
Detail from Playing Chess before a Double Screen
I used lightweight, natural linen to make my scholar’s robes, which I based off the yuán lǐng páo 圓領袍 (圓領袍, “round-collared robe”) that was worn by men regardless of rank or status – the only sumptuary prescriptions on them were length, fabric, and color 3.
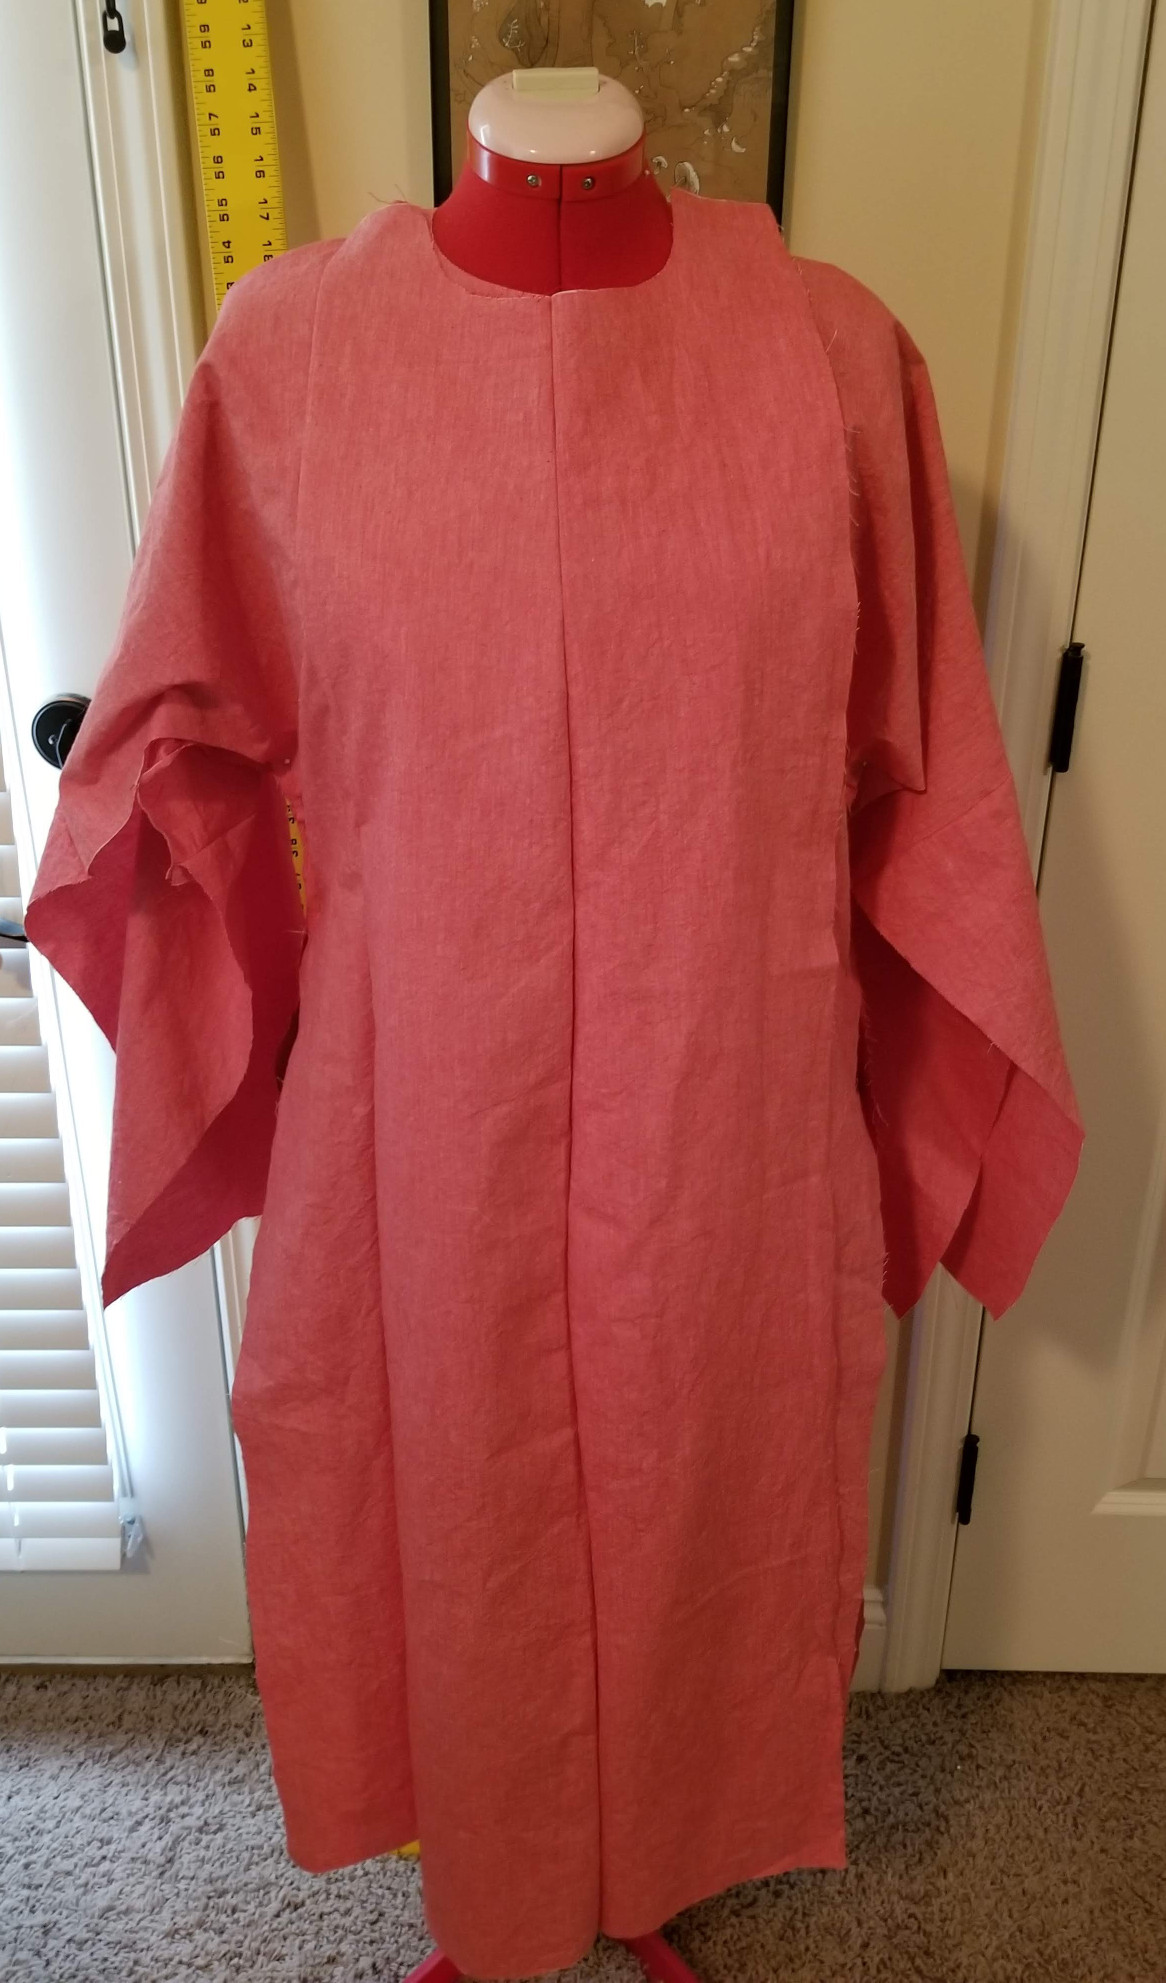
Before I cut into my un-dyed linen, I used some red cotton that I had been given to make a prototype. I’d only made one other robe before this, out of black quilting cotton, as a way to test the layers and closures, and to learn things.
I used similar construction “rules” when patterning my yuán lǐng páo – a center back seam, no shoulder seam, attached collar, sleeves, and cuffs. Because the robe closes with a button and loop at the collar, there are two panels sewn to the center front, one for each side, which curve to match the neckline and overlap with each other. Since this wasn’t intended as a high-class garment, I kept the sleeve width narrow. I also made a cross-collar undershirt (裋褐, shùhè) to wear with the robe, as the under layer’s collar can often be seen beneath the rounded collar. I chose to purchase linen pants to finish out the outfit, since I haven’t prototyped proper Tang Dynasty pants yet. I also purchased boots from Taobao via Bhiner.
To draft my robe, I took the following measurements:
- A: edge of neck to hem (knee)
- B: shoulder point to cuff
- C: chest circumference (bust)
- D: neck circumference
- E: waist
- F: shoulder point to hip, over bust
- G: back of neck to shoulder
- H: back of neck to collarbone/collar
- I: shoulder to waist, over bust
In a modern, fitted garment, the length measurements (like A, F, and I) would be different for the front of the garment versus the back, because of the bust. But this robe is seen in art bloused at the waist – pulled out a bit so that it hangs – so I wasn’t concerned about extra fabric at the back.
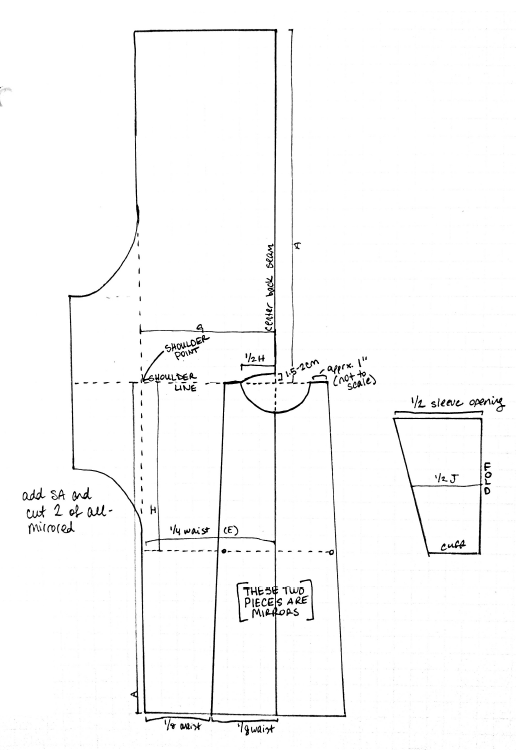
The pattern consists of seven pieces in total, several of them mirrors of one another: two body panels, two front panels, two sleeves, and one collar. I chose not to line my robe, but if I had or ever do in the future, I believe that flat-lining it would be the best option. I also kept the sleeve one piece instead of adding an extra cuff, though that is something I could certainly do in the future.
To assemble my robe, I first stitched the center back seam together, then joined the sleeves to the body panels. Next I stitched the front panels into pairs (center front to center front), then stitched to the body panels. I then hemmed the sleeve cuffs and the edges of the front panels. I had to tweak the front panels a bit so that they would properly align with the curve of the collar, but that wasn’t difficult. I attached the collar (a single piece of rectangular fabric) by first stitching it on with right-sides together, then pressing it up and folding it down toward the inside, then pressing the inside edge up and hand-sewing it so that it covers the seam. I left the ends open so that I could attach loops made from simple tubes of fabric sewn and turned, and I used my dress form to determine where to attach the fabric buttons. Lastly, I stiched the side seams and sleeves closed, adding a set of ties at waist level to hold the inner front panel closed. I finished all my seams by flat felling and stitching them down with a slip stitch.

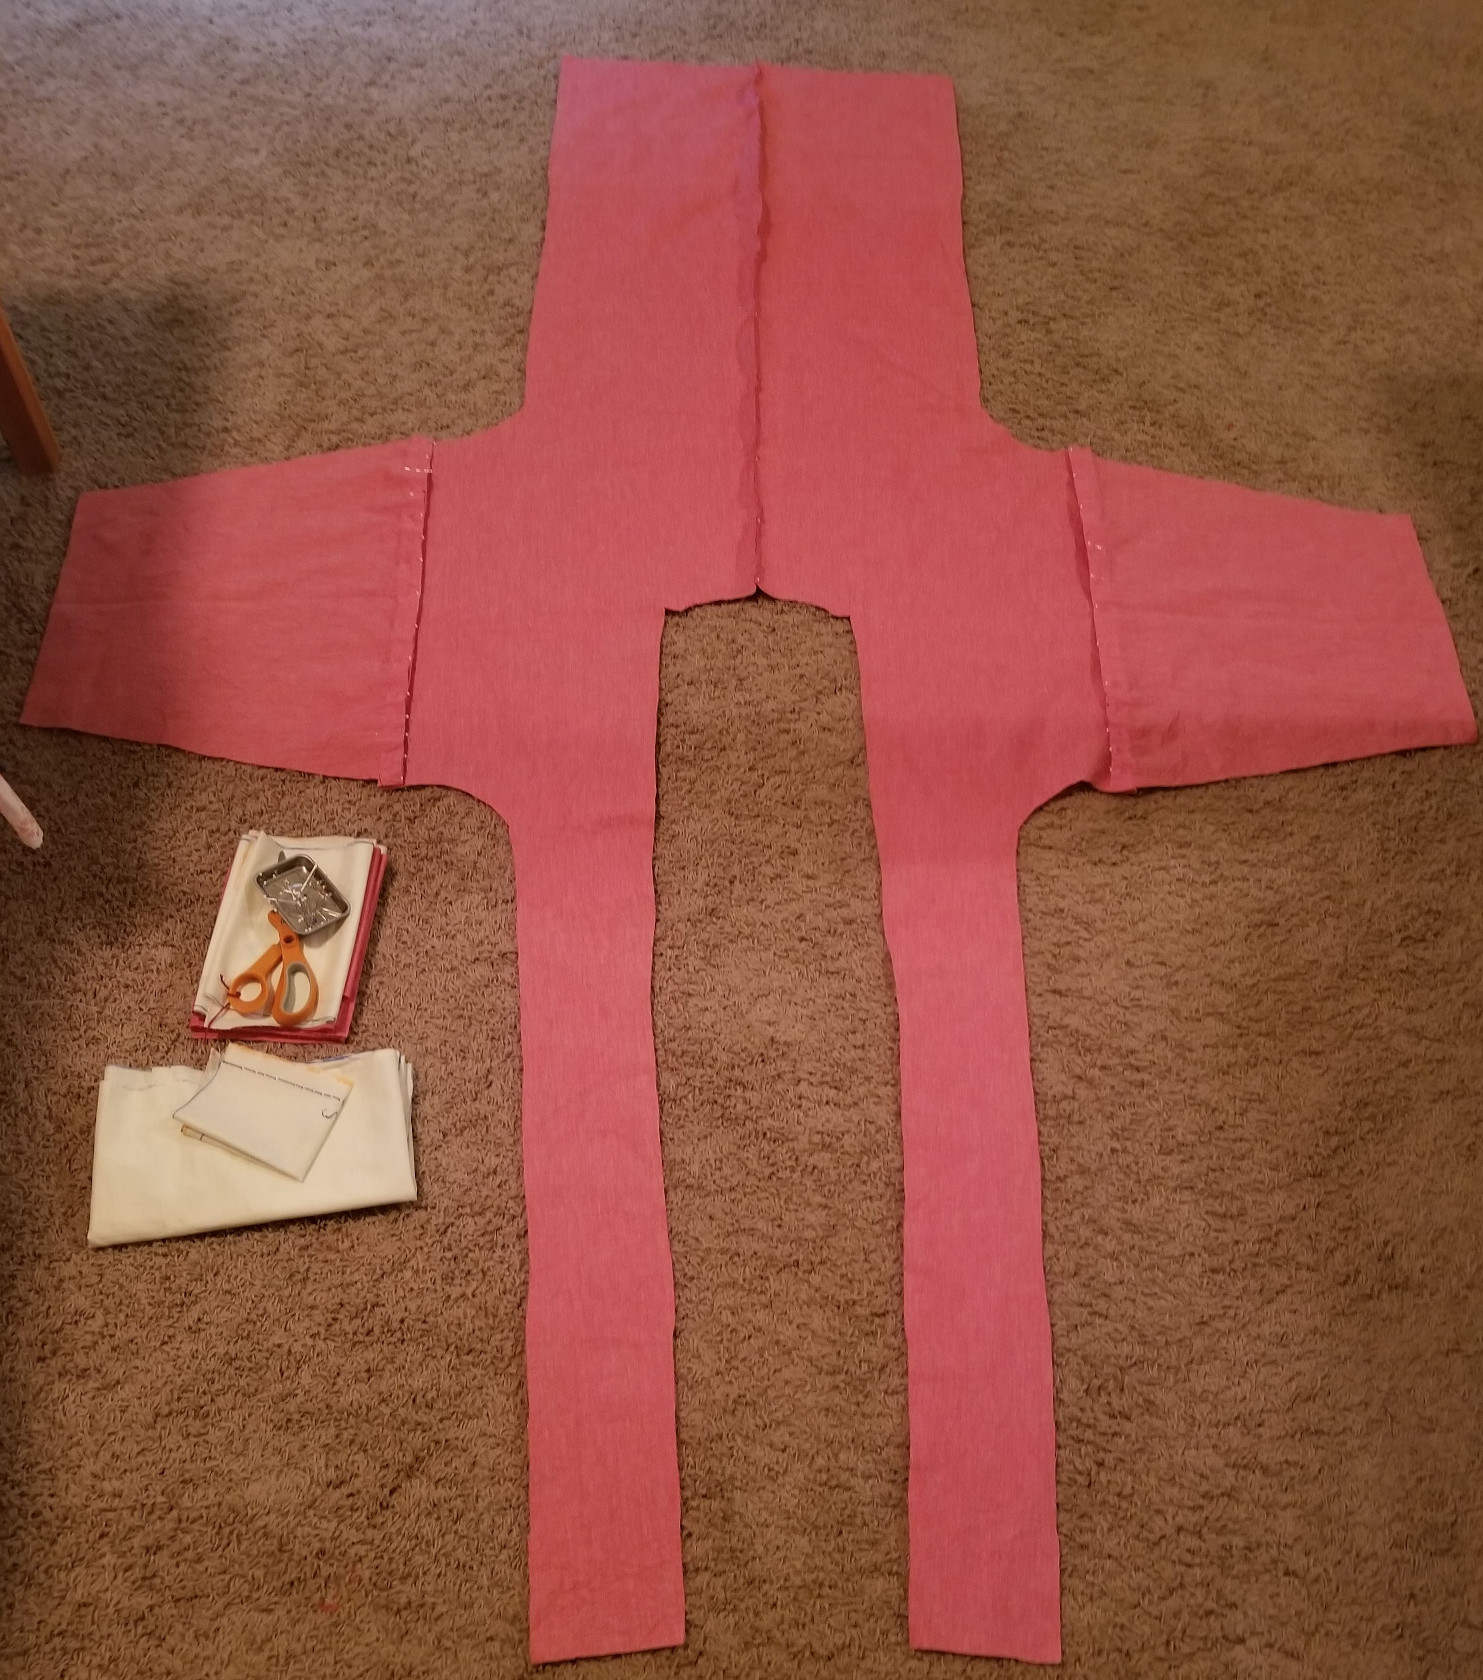
Pattern layout 
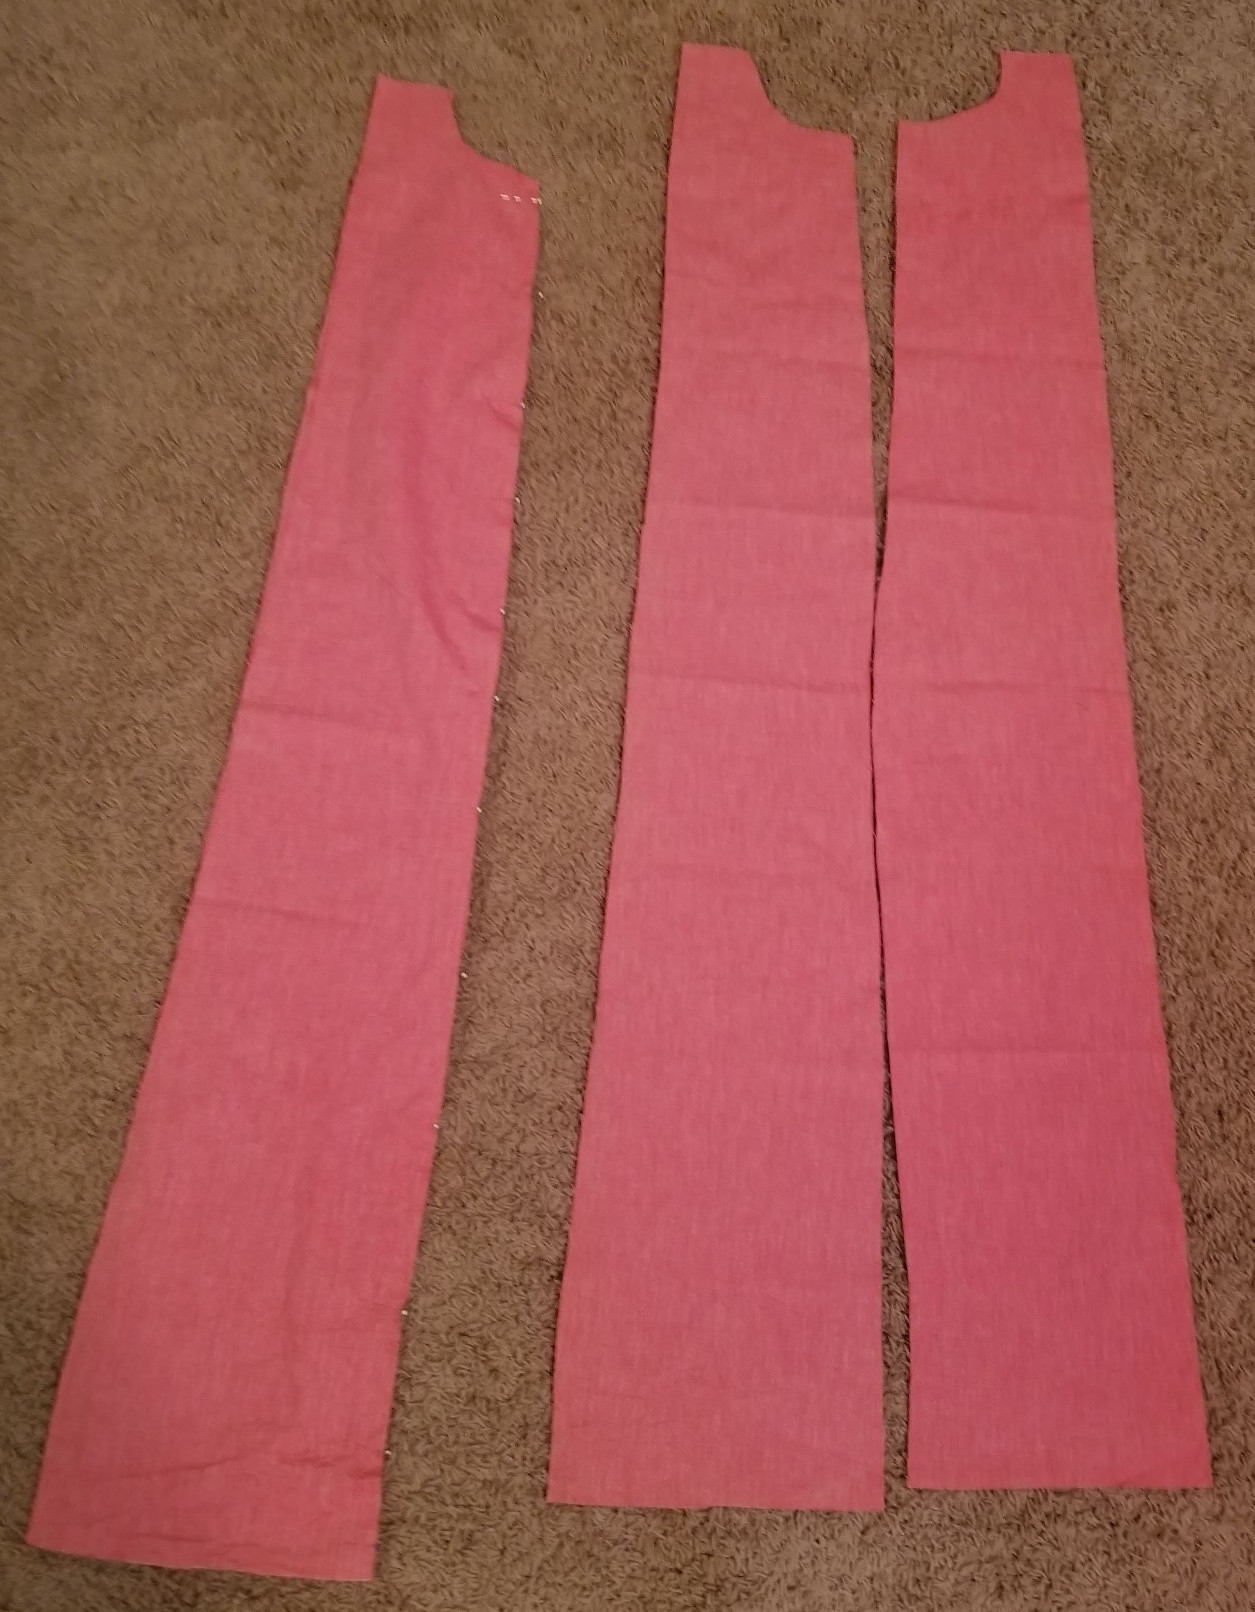
Side pieces and sleeves 
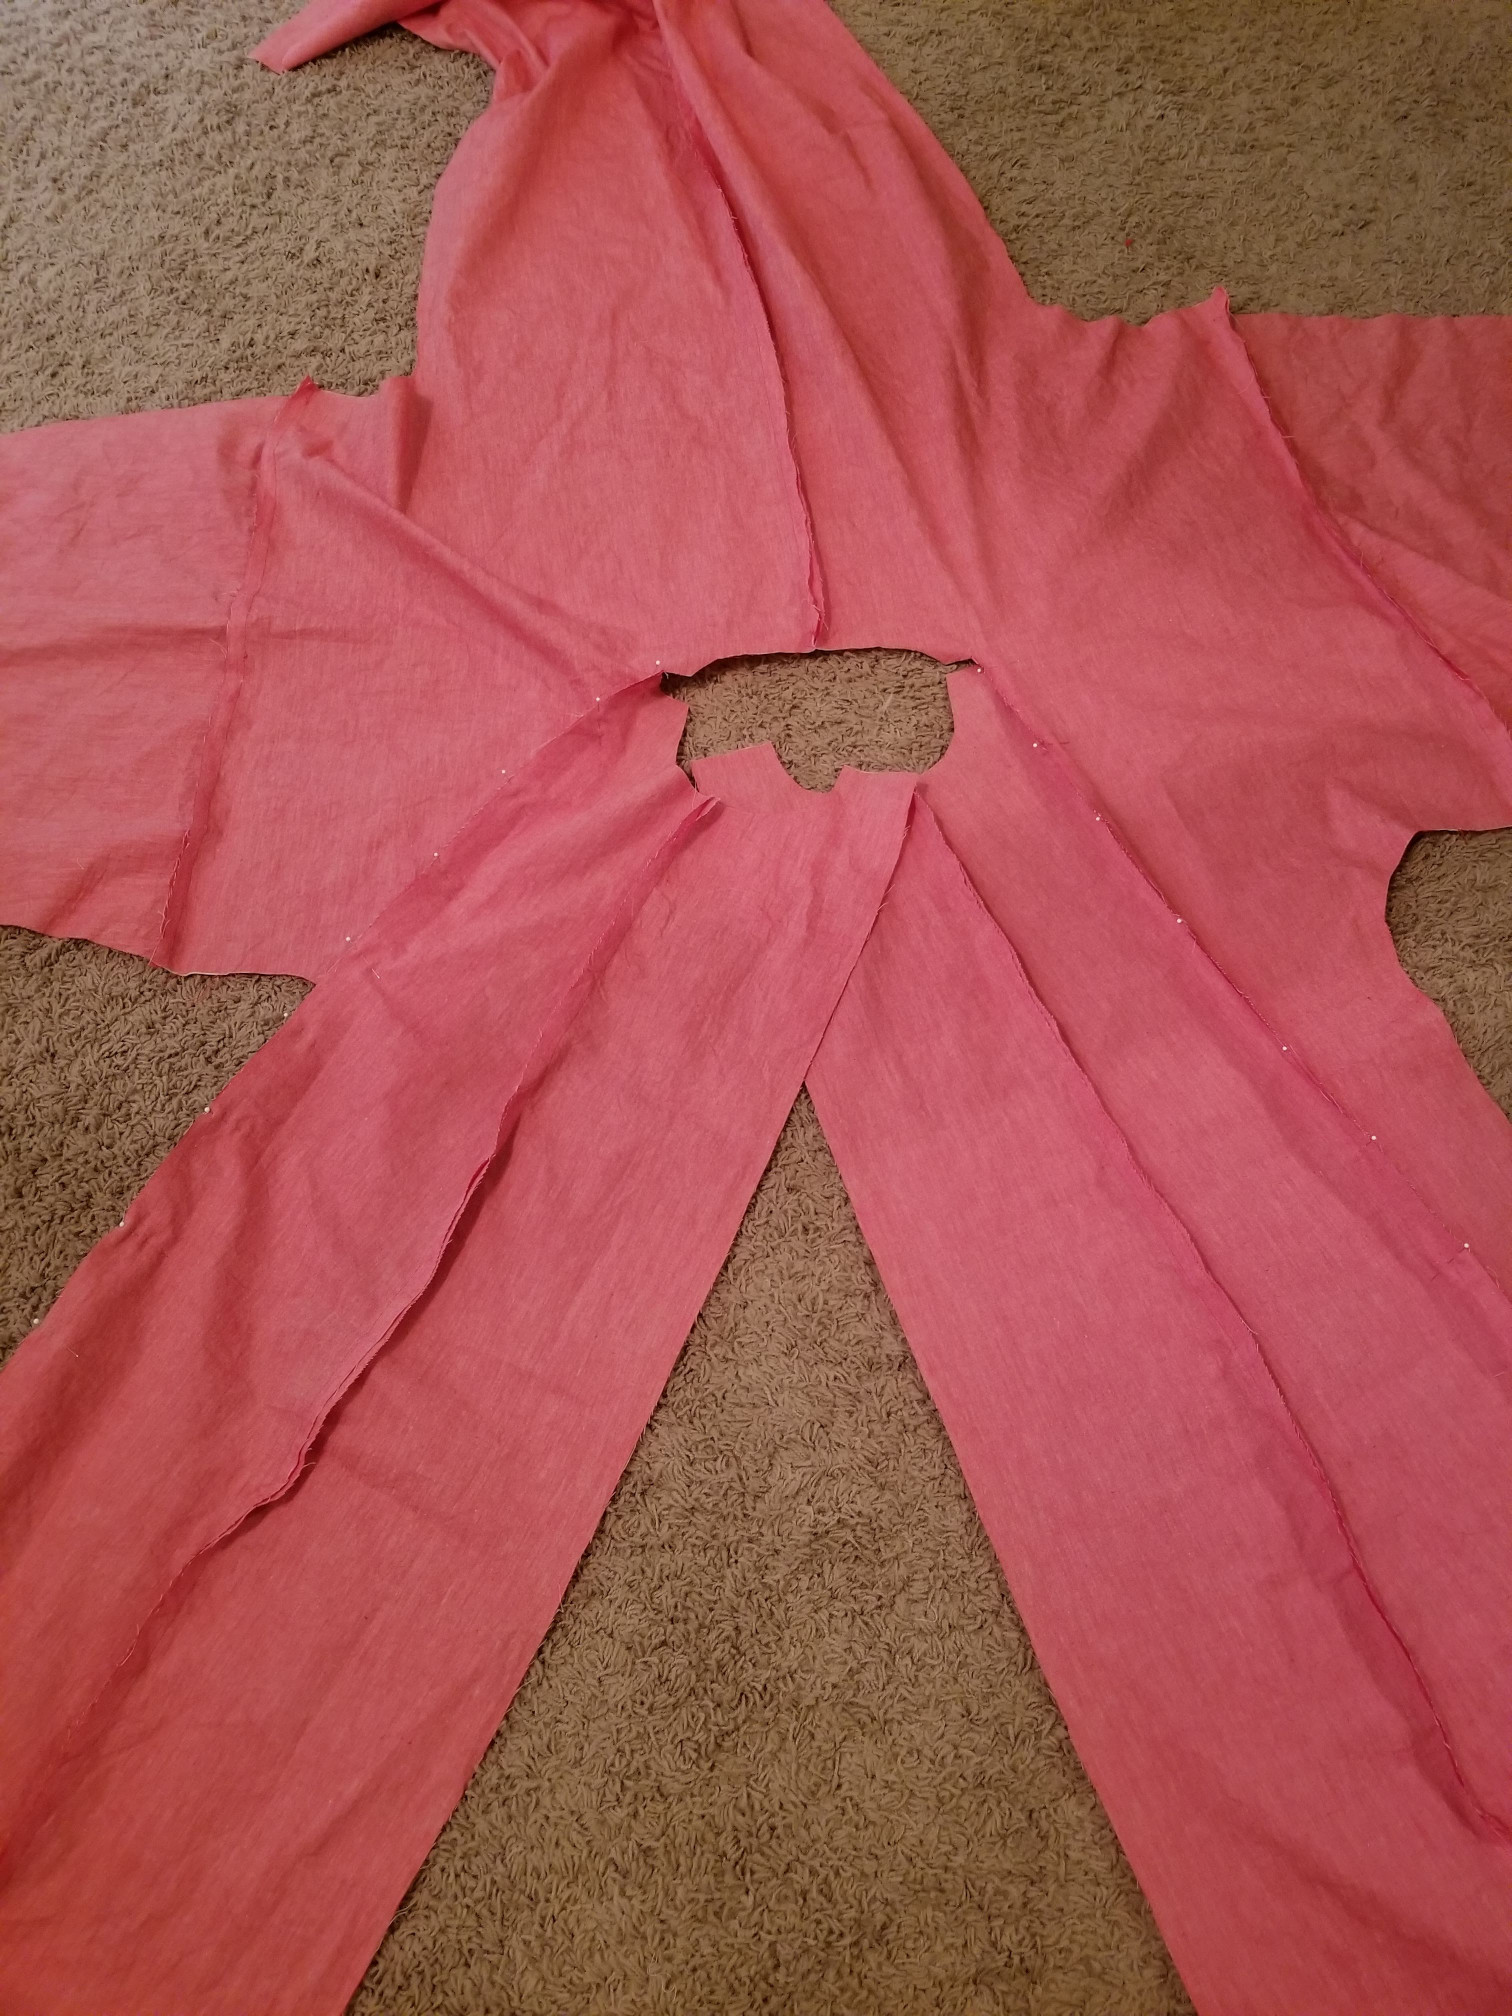
Front panels 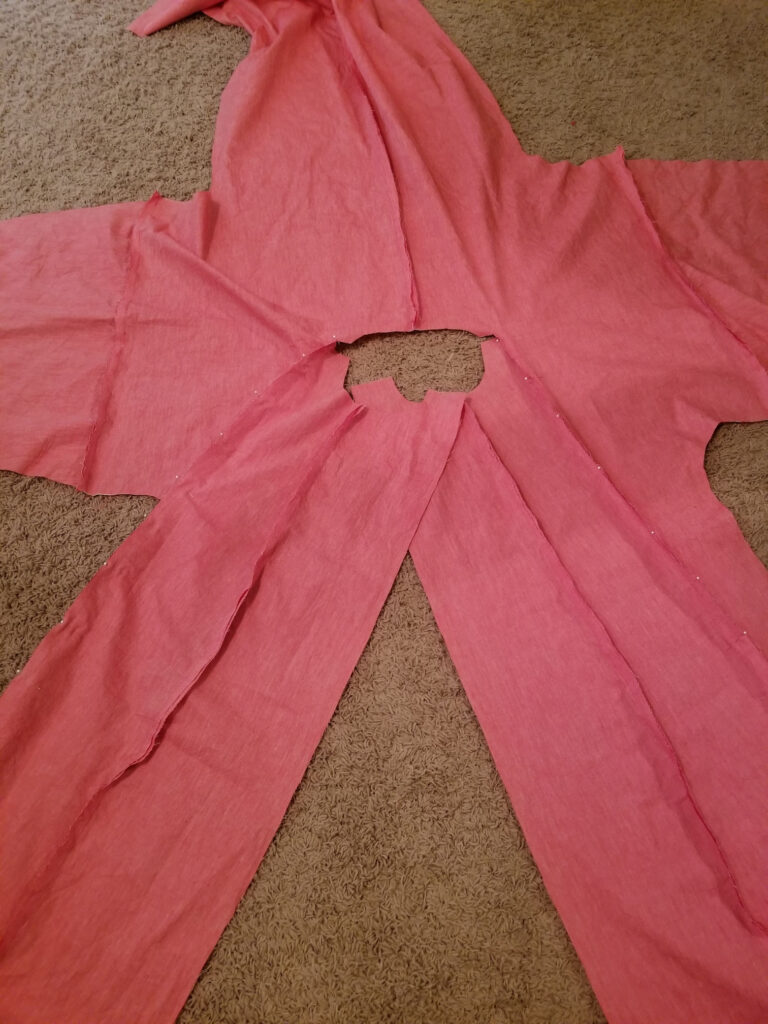
Front panels on side pieces 
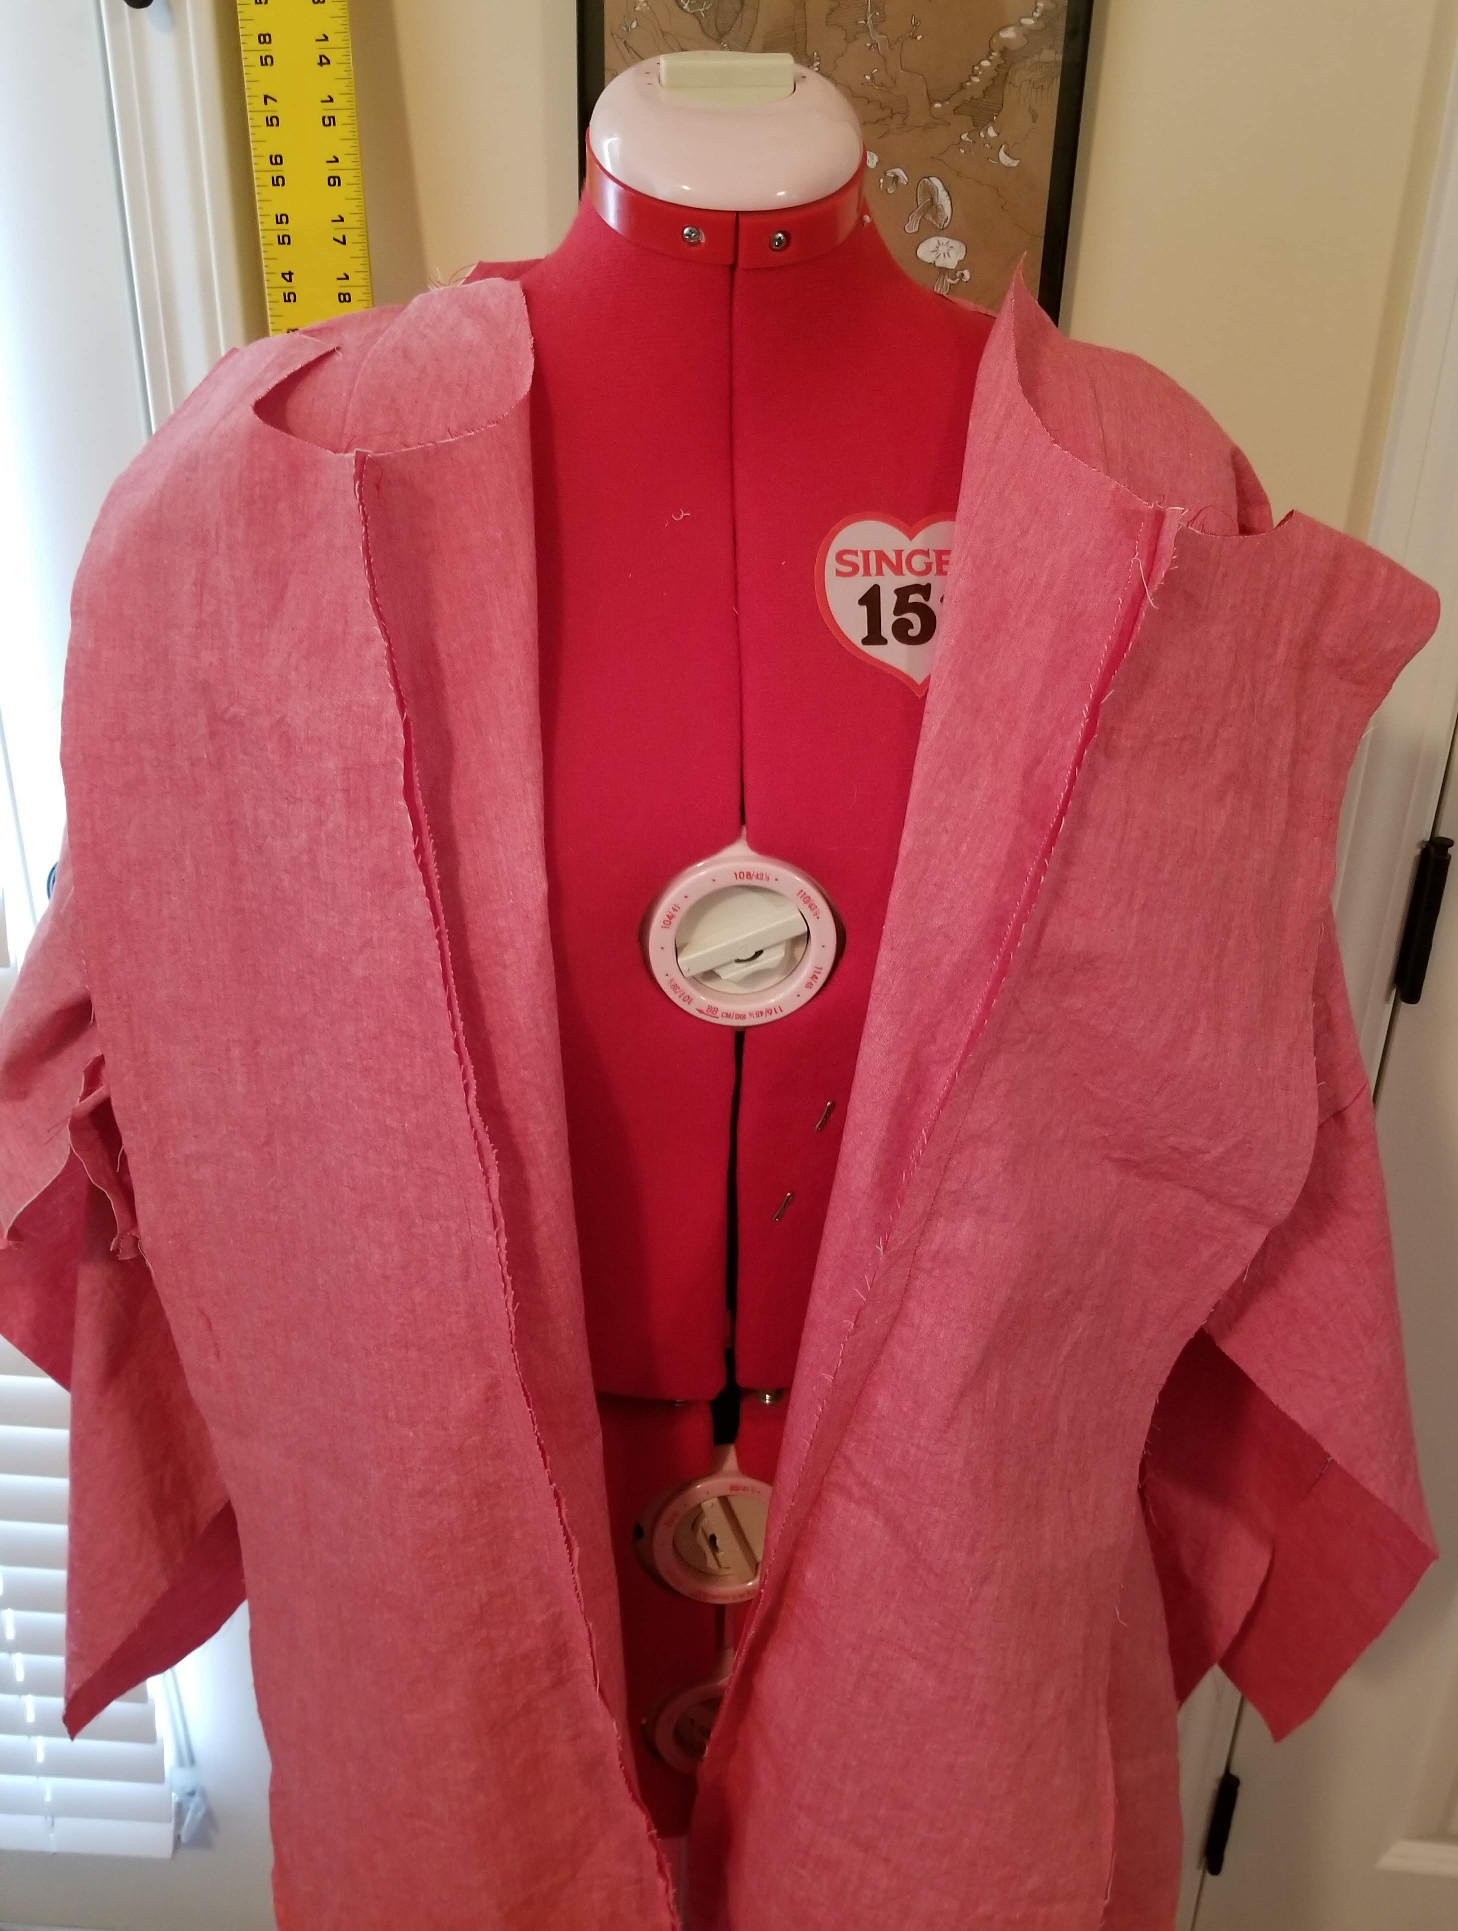
The unfinished robe on my dress form with the front panels open 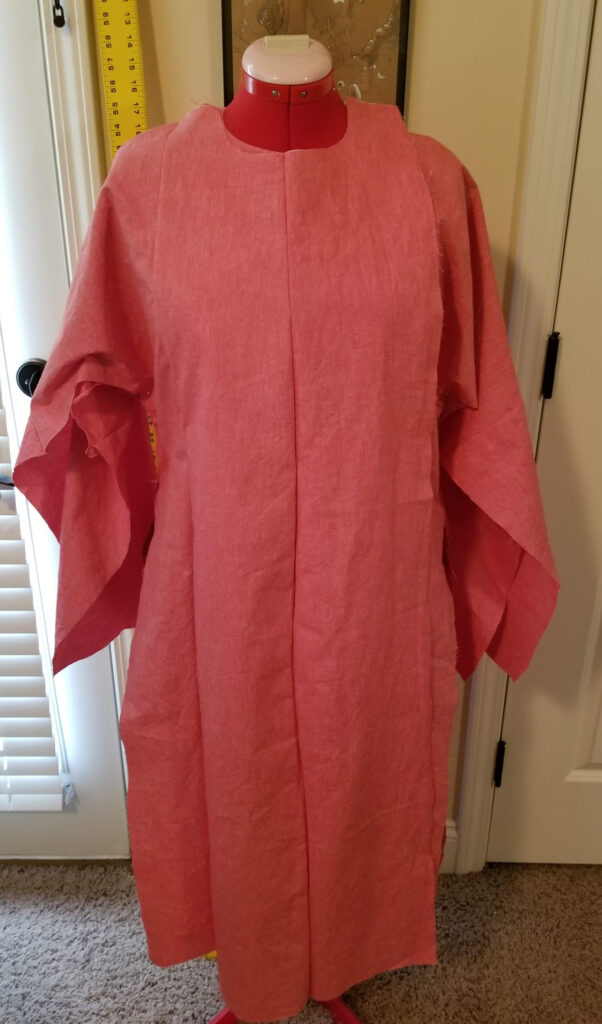
Nearly finished robe on my dressform

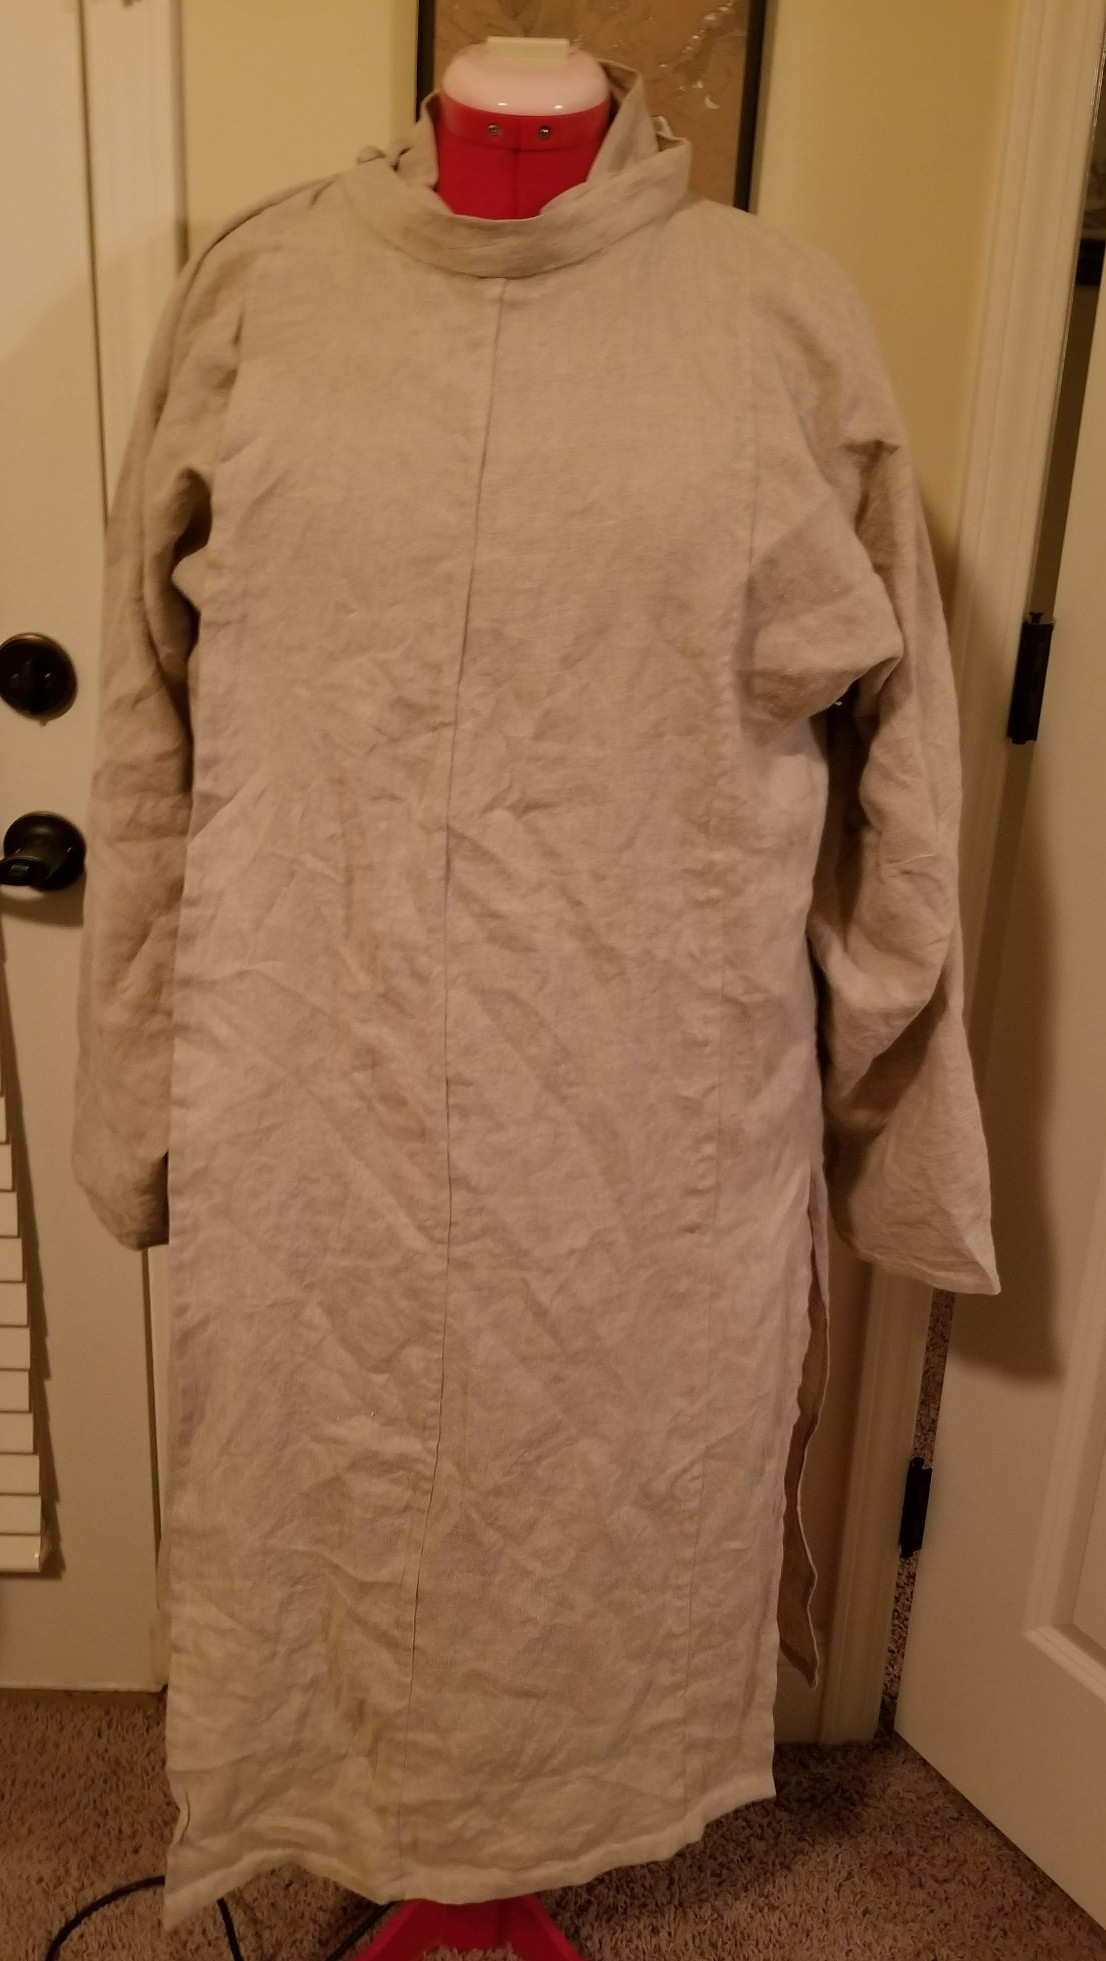
Once I had my red prototype done, I set about making another robe out of my natural linen.
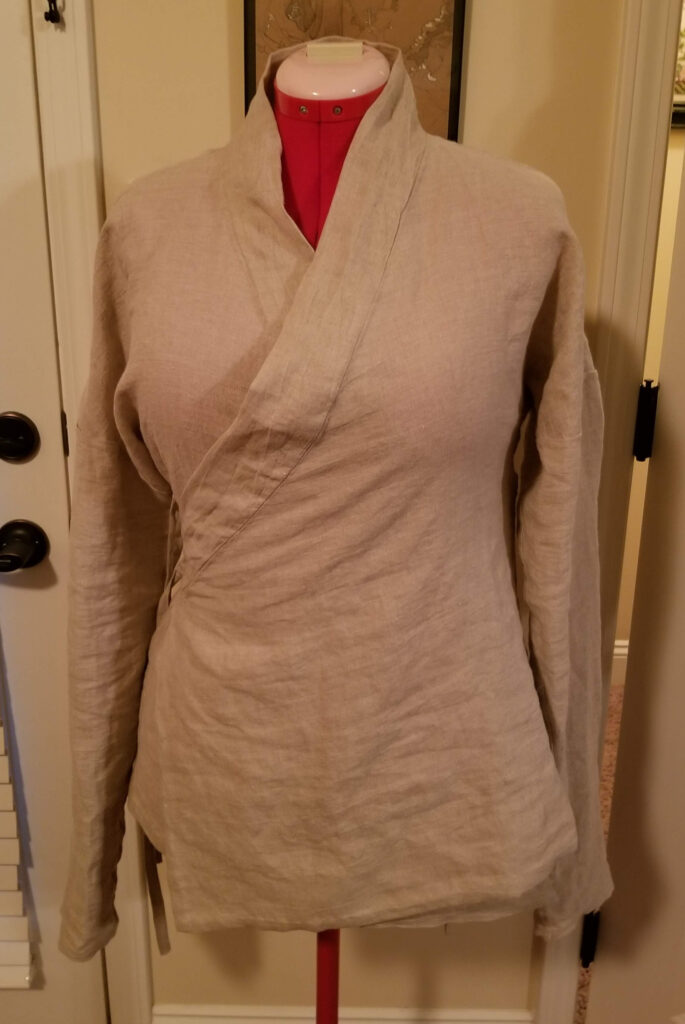
Finished linen shirt with questionable smoothness. 
Finished vigil robe and shirt together on my dress form.
For the shirt, I used my basic shirt pattern but adjusted the front panels so that it would be a cross-collar shirt instead of parallel. I had to make some adjustments once I had it sewn up to accomodate my bust, and I’m still not really happy with how the collar lays. I want to do some more experimenting with this before I finalize my pattern, and I also feel that the collar could stand some interfacing to help it lie flat. In period, this could have been an additional layer(s) of (perhaps coarser) fabric like horsehair. The waist ties are attached at the side seams and the ends of the collar pieces, which I also need to do more experimenting with in order to get them positioned so that the panels lay nicely across the chest.

To belt my robe, I used the legacy apprentice belt I was given by my Laurel, and originated with Master Allan of Moffat.
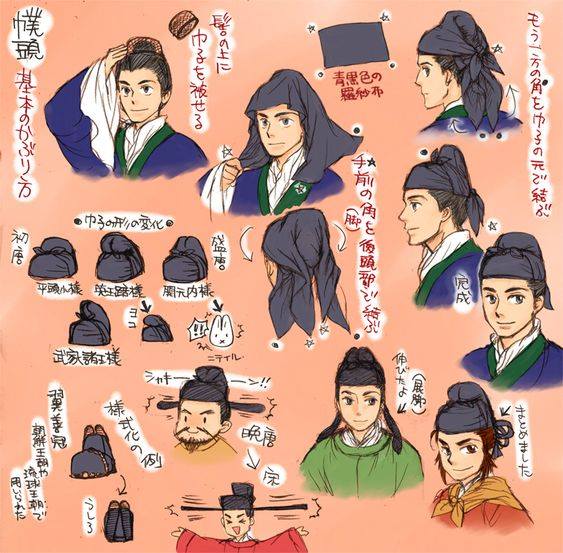
The term 巾 (jīn, cloth) is a broad term for cloth headwear. The basic headwear for masculine dress in the Tang Dynasty was the 幞头 (fú tóu, cloth turban). A stiffened, woven basket provided more structure and helped maintain shape once the cloth was tied on. I used a piece of black linen from my stash, X by Y, and hemmed all the edges. In future, I’d like to make a fú tóu using a lighter weight linen cloth, or a lightweight silk.